SIP Trunk is a bring-your-own-carrier option. Rapida runs a native SIP server that accepts inbound SIP INVITE requests and establishes RTP media sessions directly. This provides the lowest latency path for voice AI interactions.
How It Works
Prerequisites
SIP Infrastructure
A SIP-compatible PBX, carrier, or VoIP provider that can send calls to an external SIP URI
Rapida Account
An active Rapida account with a configured voice assistant
- Your SIP trunk provider’s SIP URI (e.g.,
sip:trunk.provider.com:5060) - Optional SIP Username and Password if your trunk requires authentication
Step 1: Set Up Provider Credentials
Store your SIP trunk credentials in Rapida so the platform can authenticate with your SIP infrastructure.Navigate to External Integrations
Go to Integration > Tools in the Rapida dashboard. You will see a grid of available external integrations.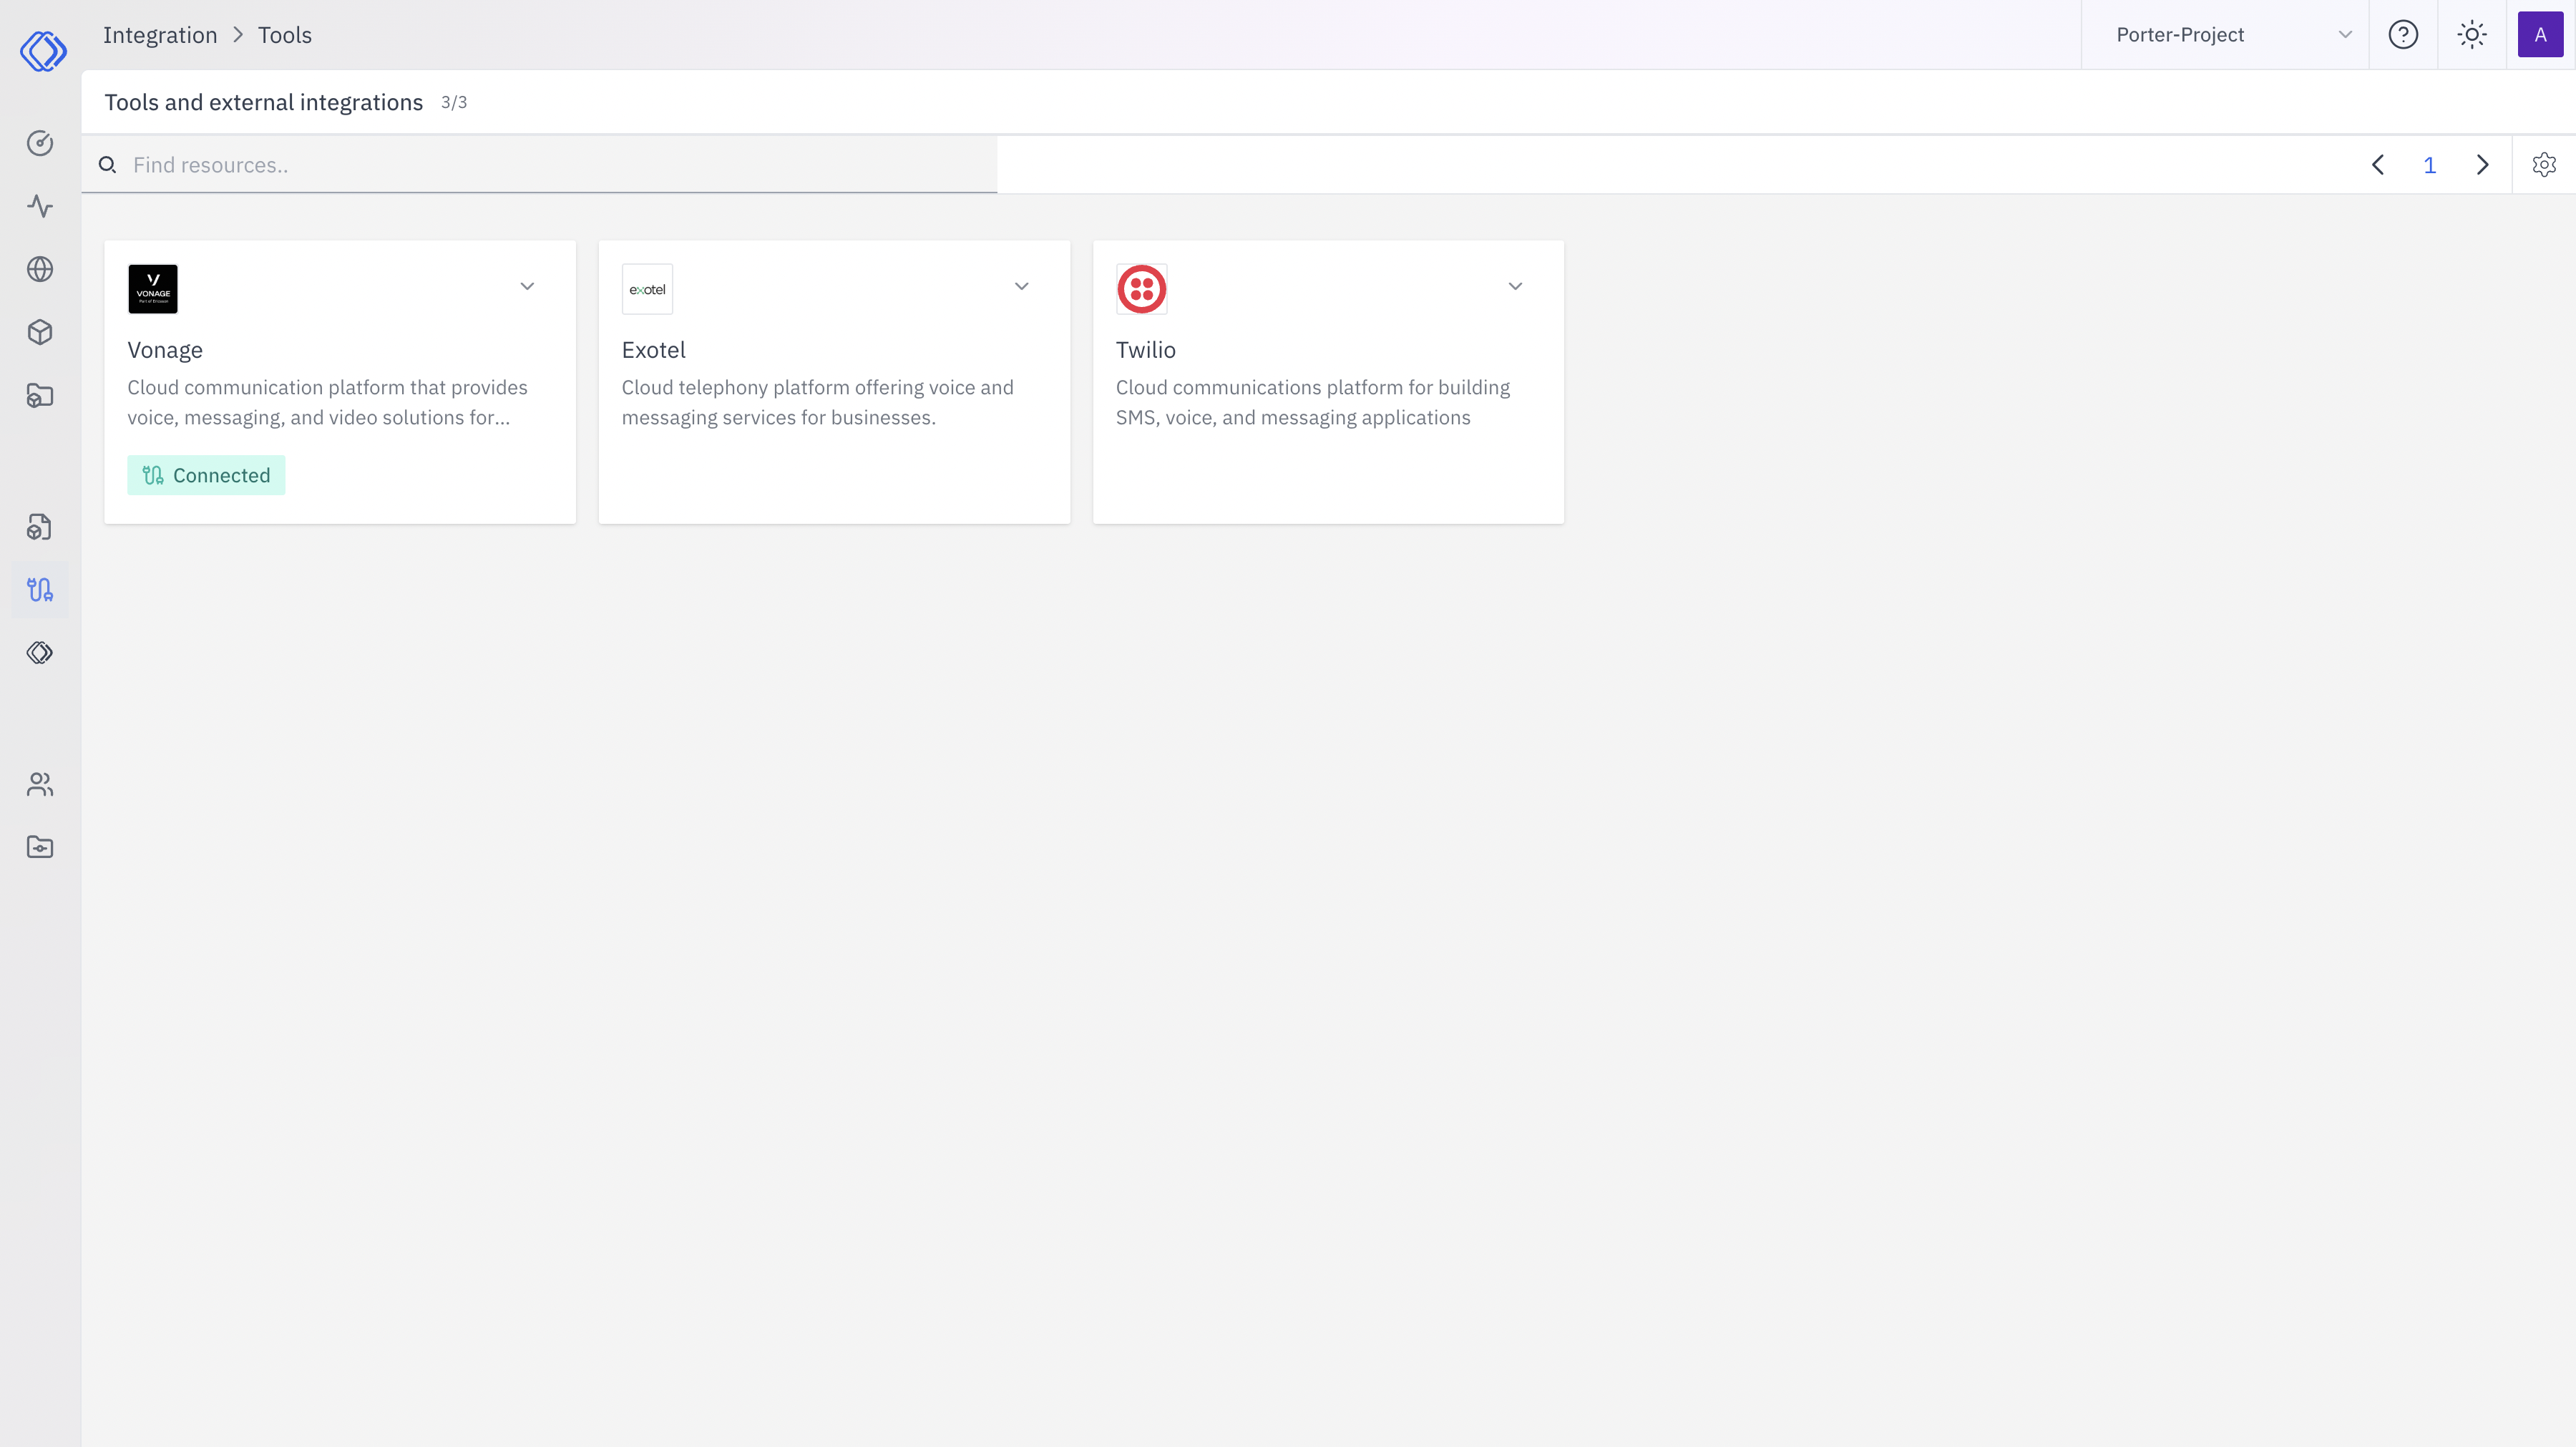
Enter Your SIP Credentials
A modal will appear. Fill in the following fields:
Click “Configure” to save.
| Field | Description | Required |
|---|---|---|
| Key Name | A friendly name for this credential (e.g., “Office PBX”) | Yes |
| SIP URI | The SIP trunk endpoint (e.g., sip:trunk.provider.com:5060) | Yes |
| SIP Username | Authentication username for the SIP trunk | No |
| SIP Password | Authentication password for the SIP trunk | No |
Step 2: Configure Phone Deployment
With credentials saved, configure your assistant’s phone deployment to use SIP.Select SIP Trunk as Telephony Provider
In the Telephony section:
- Select SIP Trunk from the telephony provider dropdown
- Choose the SIP credential you created in Step 1 from the Credential dropdown
- Enter the Caller ID — the phone number to display for outbound calls (e.g.,
+15551234567)
Configure Experience Settings
Set up the conversation experience:
| Setting | Description | Default |
|---|---|---|
| Greeting | The first message the AI speaks when answering | (optional) |
| Error Message | Message spoken when an error occurs | (optional) |
| Idle Timeout | Seconds before prompting an idle caller | 30 |
| Idle Message | Message spoken when caller is idle | "Are you there?" |
| Idle Timeout Retries | How many times to retry before ending call | 2 |
| Max Call Duration | Maximum call length in seconds | 300 |
Configure Audio Providers
Select your Speech-to-Text (STT) and Text-to-Speech (TTS) providers. These determine how audio is transcribed and synthesized during the call.
Step 3: Configure Your PBX / SIP Provider
Route calls from your PBX or SIP carrier to Rapida’s SIP server.Create a SIP Trunk in Your PBX
In your PBX admin panel (FreeSWITCH, Asterisk, Kamailio, or hosted provider), create a new SIP trunk pointing to Rapida’s SIP endpoint.Rapida SIP Server:Configure your trunk with:
- Outbound Proxy:
sip-01.in.rapida.ai:5060 - Transport: UDP or TCP
- Codec: G.711 μ-law (PCMU) preferred, G.711 A-law (PCMA) supported
Create a Dial Plan Rule
Add a dial plan entry that routes specific numbers or patterns to the Rapida SIP trunk.FreeSWITCH example:Asterisk example (extensions.conf):
Inbound SIP URI Routing
Rapida routes inbound SIP calls from the user portion of the request URI. TheTo URI is used first; if it has no user, Rapida falls back to the From URI.
Accepted inbound destination formats:
| Format | Example | Resolution |
|---|---|---|
sip:agent-{assistantID}@{host}:{port} | sip:agent-123456789@sip-01.in.rapida.ai:5060 | Routes directly by numeric assistant ID |
sip:did-{did}@{host}:{port} | sip:did-+15551234567@sip-01.in.rapida.ai:5060 | Looks up the active SIP phone deployment whose phone value exactly matches {did} |
sip:{did}@{host}:{port} | sip:+15551234567@sip-01.in.rapida.ai:5060 | Same DID lookup, without the did- prefix |
sips: when the SIP listener is configured for TLS.
The DID value is matched exactly against the phone number stored on the assistant’s active SIP phone deployment.
+15551234567 and 15551234567 are different route values.Making Outbound Calls
Once your phone deployment is configured, you can initiate outbound calls through your SIP trunk using the Rapida API or SDKs.- Python
- Node.js
- cURL
Features
| Feature | Description |
|---|---|
| Bring Your Own Carrier | Use any SIP-compatible provider or on-premise PBX |
| Direct SIP Connection | Native SIP INVITE/BYE handling with RTP media — no intermediary cloud provider |
| Low Latency | Direct RTP audio path minimizes round-trip delay |
| Inbound Calls | Accept calls routed from your PBX to the AI assistant |
| Outbound Calls | Initiate calls programmatically via SDK or API through your SIP trunk |
| Call Recording | Automatic conversation capture for review and compliance |
| Codec Support | G.711 μ-law (PCMU), G.711 A-law (PCMA) |
| Flexible Auth | Digest authentication or IP-based allow-listing |
Supported PBX / Providers
SIP Trunk works with any standard SIP-compliant system, including:| System | Type |
|---|---|
| FreeSWITCH | Open-source softswitch |
| Asterisk | Open-source PBX (also has dedicated integration) |
| Kamailio | SIP proxy/router |
| Twilio Elastic SIP | Cloud SIP trunking |
| Vonage SIP Connect | Cloud SIP trunking |
| Bandwidth | Cloud SIP trunking |
| Telnyx | Cloud SIP trunking |
| SignalWire | Cloud SIP trunking |
Troubleshooting
SIP INVITE rejected or no response
SIP INVITE rejected or no response
- Verify the SIP URI in your credential is correct and reachable
- Check that your PBX can route to
sip-01.in.rapida.ai:5060(firewall/NAT rules) - If using authentication, ensure username and password are correct
- Try both UDP and TCP transport if one doesn’t work
One-way audio or no audio
One-way audio or no audio
- Check RTP port ranges — ensure your firewall allows UDP traffic for RTP media
- Verify codec negotiation — Rapida supports G.711 μ-law (PCMU) and G.711 A-law (PCMA)
- If behind NAT, ensure your PBX has proper STUN/TURN or external media IP configuration
- Verify STT and TTS providers are configured in the phone deployment
Outbound calls fail
Outbound calls fail
- Verify the SIP credential is connected in Integration > Tools
- Ensure the phone deployment is configured and saved
- Check that your SIP trunk allows outbound calls from Rapida’s IP
Audio quality issues
Audio quality issues
- Use a wired network connection for your PBX when possible
- Prefer G.711 μ-law (PCMU) codec for compatibility
- Minimize network hops between your PBX and Rapida
- Check for packet loss or jitter on the RTP path using network monitoring tools
Related Resources
Create an Assistant
Build your voice AI assistant
Phone Deployment
Overview of phone deployment options
Asterisk Integration
Dedicated Asterisk PBX integration with AudioSocket
Conversation Logs
View call history and transcripts