Vonage uses WebSocket audio streams for real-time media. When a call connects, Vonage opens a WebSocket to Rapida carrying linear PCM audio. Rapida handles all codec conversion and resampling transparently.
How It Works
Prerequisites
Vonage Account
An active Vonage account with at least one phone number and a Vonage Application
Rapida Account
An active Rapida account with a configured voice assistant
Step 1: Set Up Provider Credentials
Store your Vonage API credentials in Rapida so the platform can authenticate with Vonage for outbound calls and webhook handling.1
Navigate to External Integrations
Go to Integration > Tools in the Rapida dashboard. You will see a grid of available external integrations.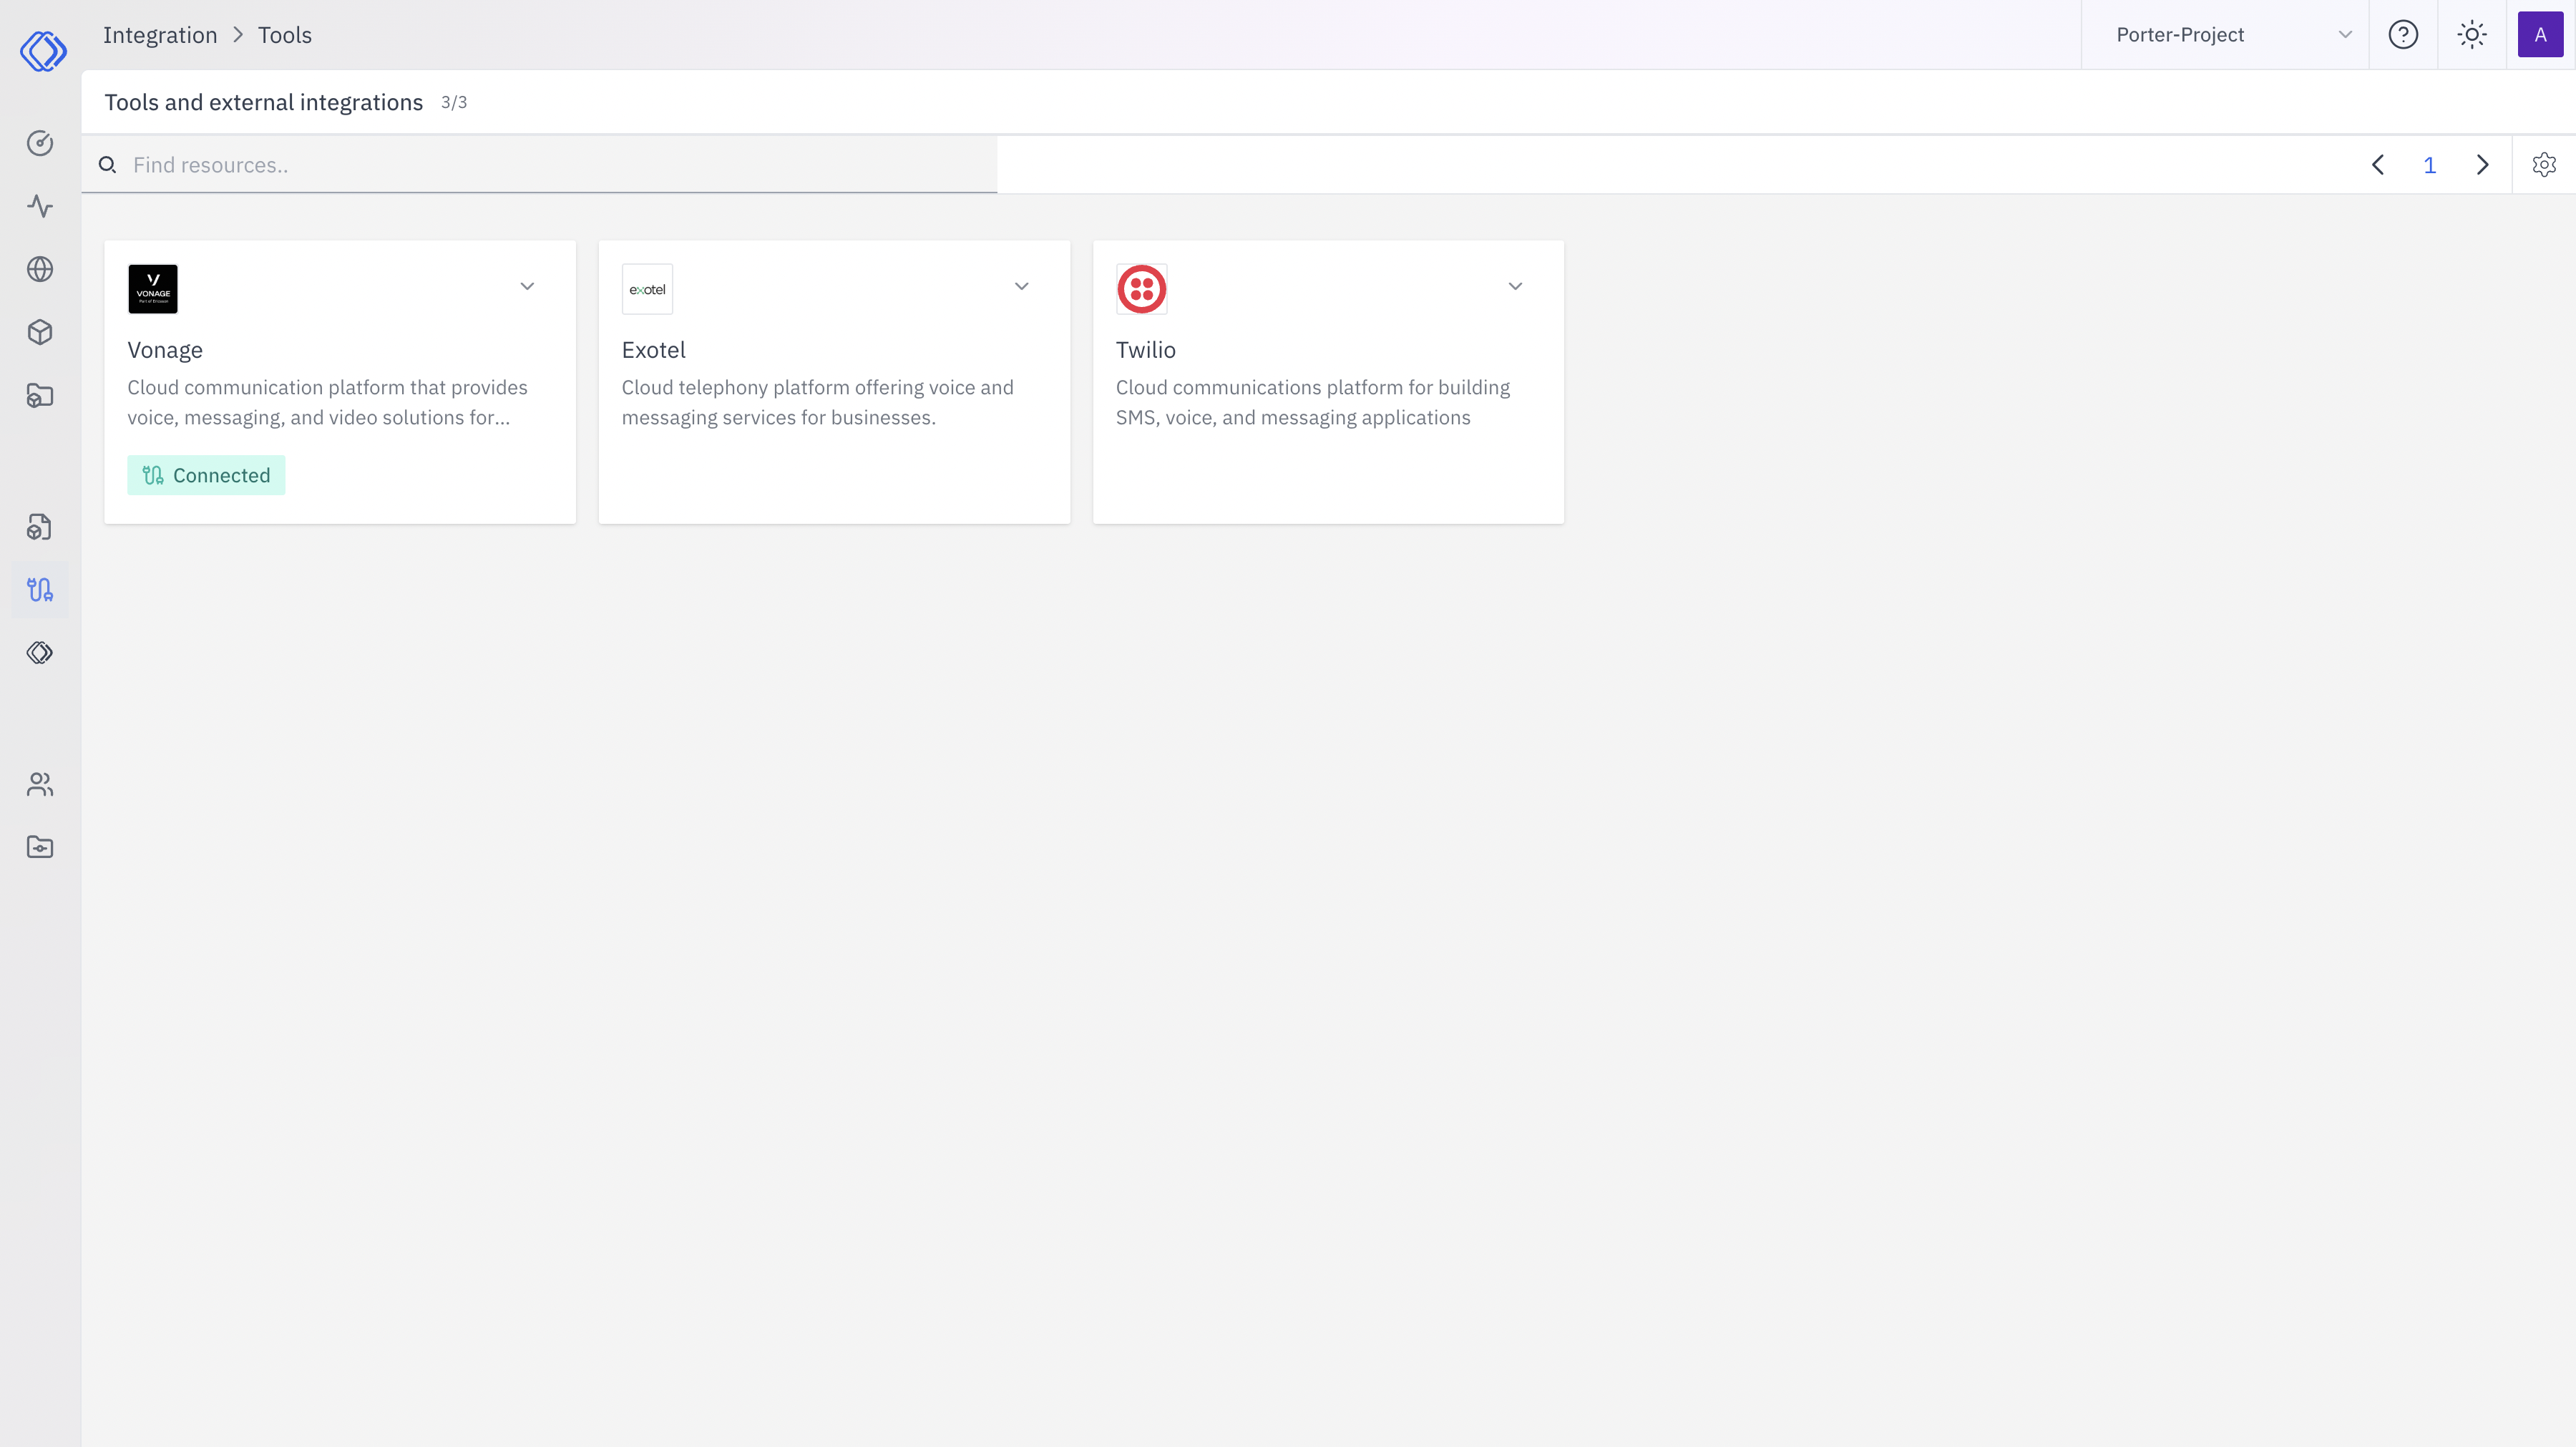
2
Select Vonage
Find the Vonage card and click “Setup Credential”.
3
Enter Your Vonage Credentials

Click “Configure” to save.
4
Verify Connection
After saving, the Vonage card should display “Connected”. Click on it to see credential details, last updated time, and management options.
Step 2: Configure Phone Deployment
With credentials saved, configure your assistant’s phone deployment to use Vonage.1
Open Your Assistant
Navigate to Assistants and select the assistant you want to deploy via phone.
2
Go to Phone Deployment
Click “Deploy” → “Phone” to open the phone deployment configuration page.
3
Select Vonage as Telephony Provider
In the Telephony section:
- Select Vonage from the telephony provider dropdown
- Choose the Vonage credential you created in Step 1 from the Credential dropdown
- Enter your Phone number — the Vonage virtual number for inbound calls and outbound caller ID (e.g.,
+15551234567)
4
Configure Experience Settings
Set up the conversation experience:
5
Configure Audio Providers
Select your Speech-to-Text (STT) and Text-to-Speech (TTS) providers. These determine how audio is transcribed and synthesized during the call.
6
Save Deployment
Click “Deploy” to save. Your assistant is now ready to handle phone calls via Vonage.
Step 3: Configure Your Vonage Application
Point your Vonage Application’s webhook URLs to Rapida so incoming calls are routed to your AI assistant.1
Open Vonage Dashboard
Go to Vonage Dashboard → Applications and select your application.
2
Set Voice Webhooks
Under Capabilities → Voice, configure:
Replace
{your-assistant-id} with your Rapida assistant ID.3
Link Phone Number
Under Numbers, link your Vonage virtual number to this application so inbound calls are routed through it.
4
Save
Click Save in the Vonage dashboard. Your phone number is now connected to Rapida.
Making Outbound Calls
Once your phone deployment is configured, you can initiate outbound calls using the Rapida API or SDKs.- Python
- Node.js
- cURL
Features
Troubleshooting
Calls don't reach Rapida
Calls don't reach Rapida
- Verify the Answer URL in your Vonage Application settings
- Ensure the URL uses
https://and the correct assistant ID - Confirm the phone number is linked to the correct Vonage Application
One-way audio or no audio
One-way audio or no audio
- Verify your Vonage credential (Application ID + Private Key) is correct in Rapida
- Ensure the private key is the complete PEM content
- Check that your STT and TTS providers are configured in the phone deployment
Outbound calls fail
Outbound calls fail
- Verify the Vonage credential is connected in Integration > Tools
- Ensure the
from_numberis a valid Vonage number linked to your application - Check that the phone deployment is configured and saved
Event callbacks not received
Event callbacks not received
- Ensure the Event URL is configured in Vonage Application settings
- Verify the URL format includes the correct path
- Check the Vonage API Dashboard for webhook delivery logs
Related Resources
Create an Assistant
Build your voice AI assistant
Phone Deployment
Overview of phone deployment options
Outbound Call API
API reference for creating calls
Conversation Logs
View call history and transcripts