Navigate to Assistant Overview
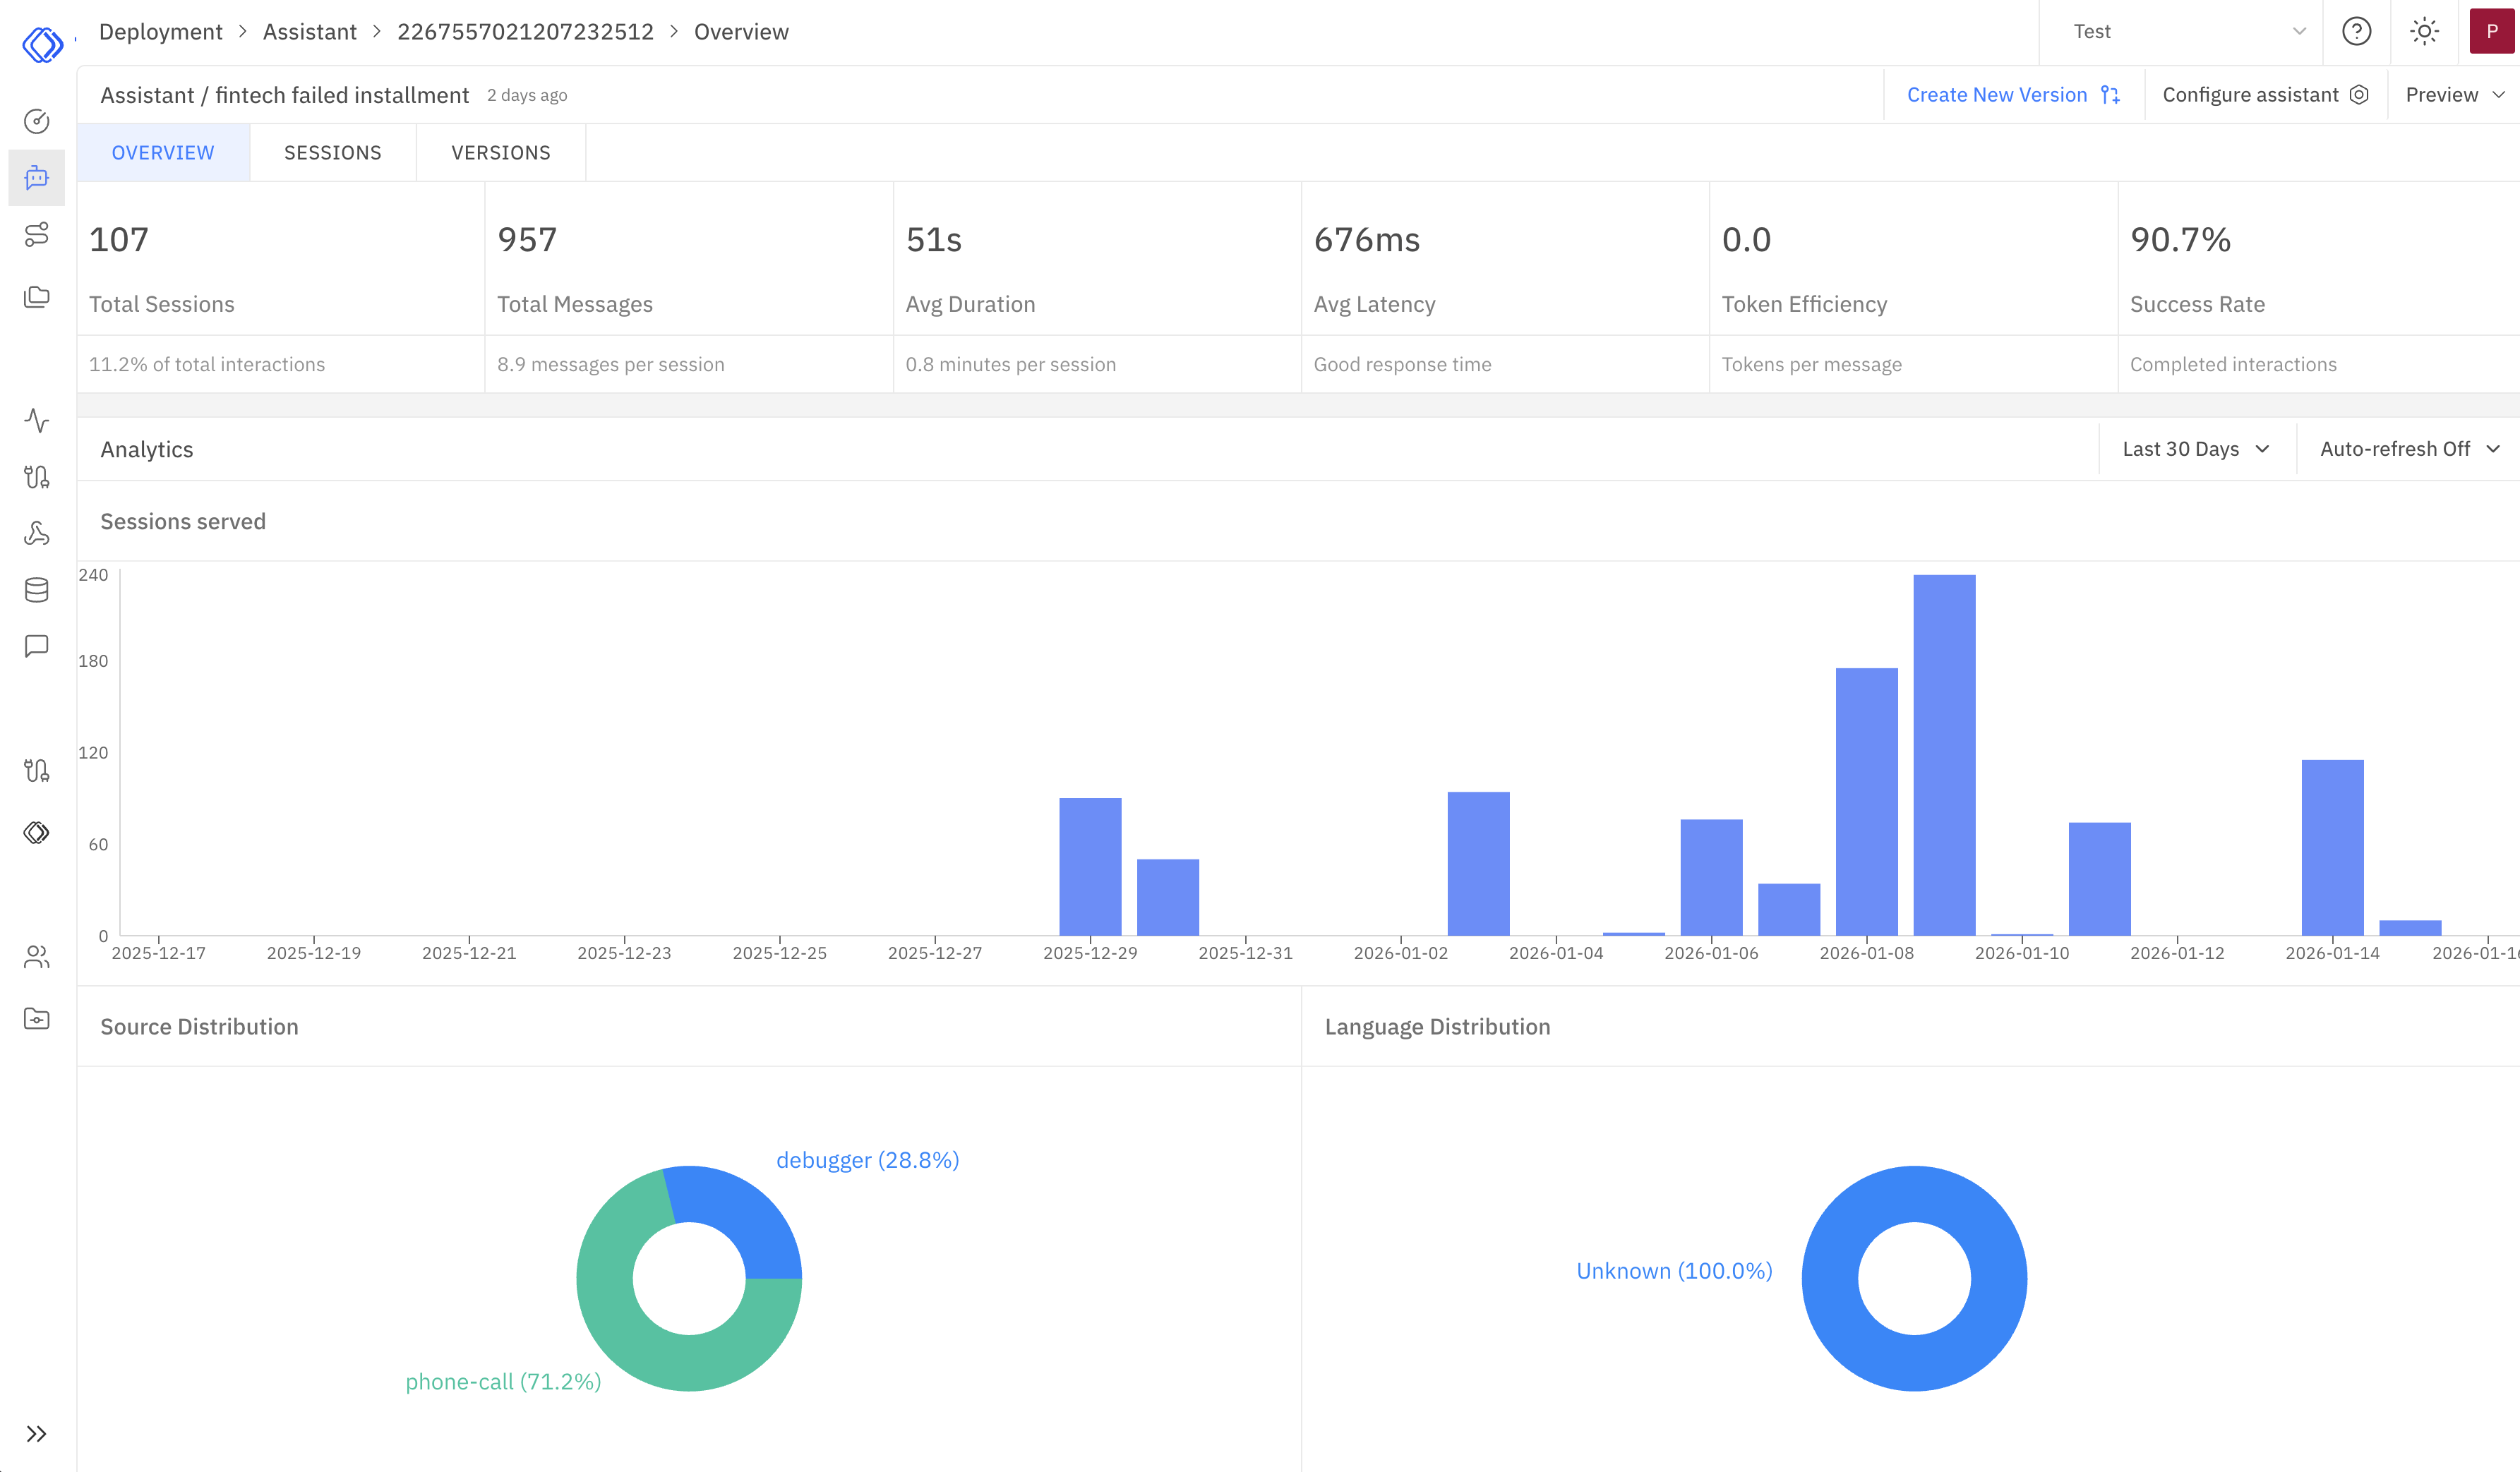
Initiate New Version Creation
Click on the “Create new version” button to start the process of creating a new version of your assistant.
Update Assistant
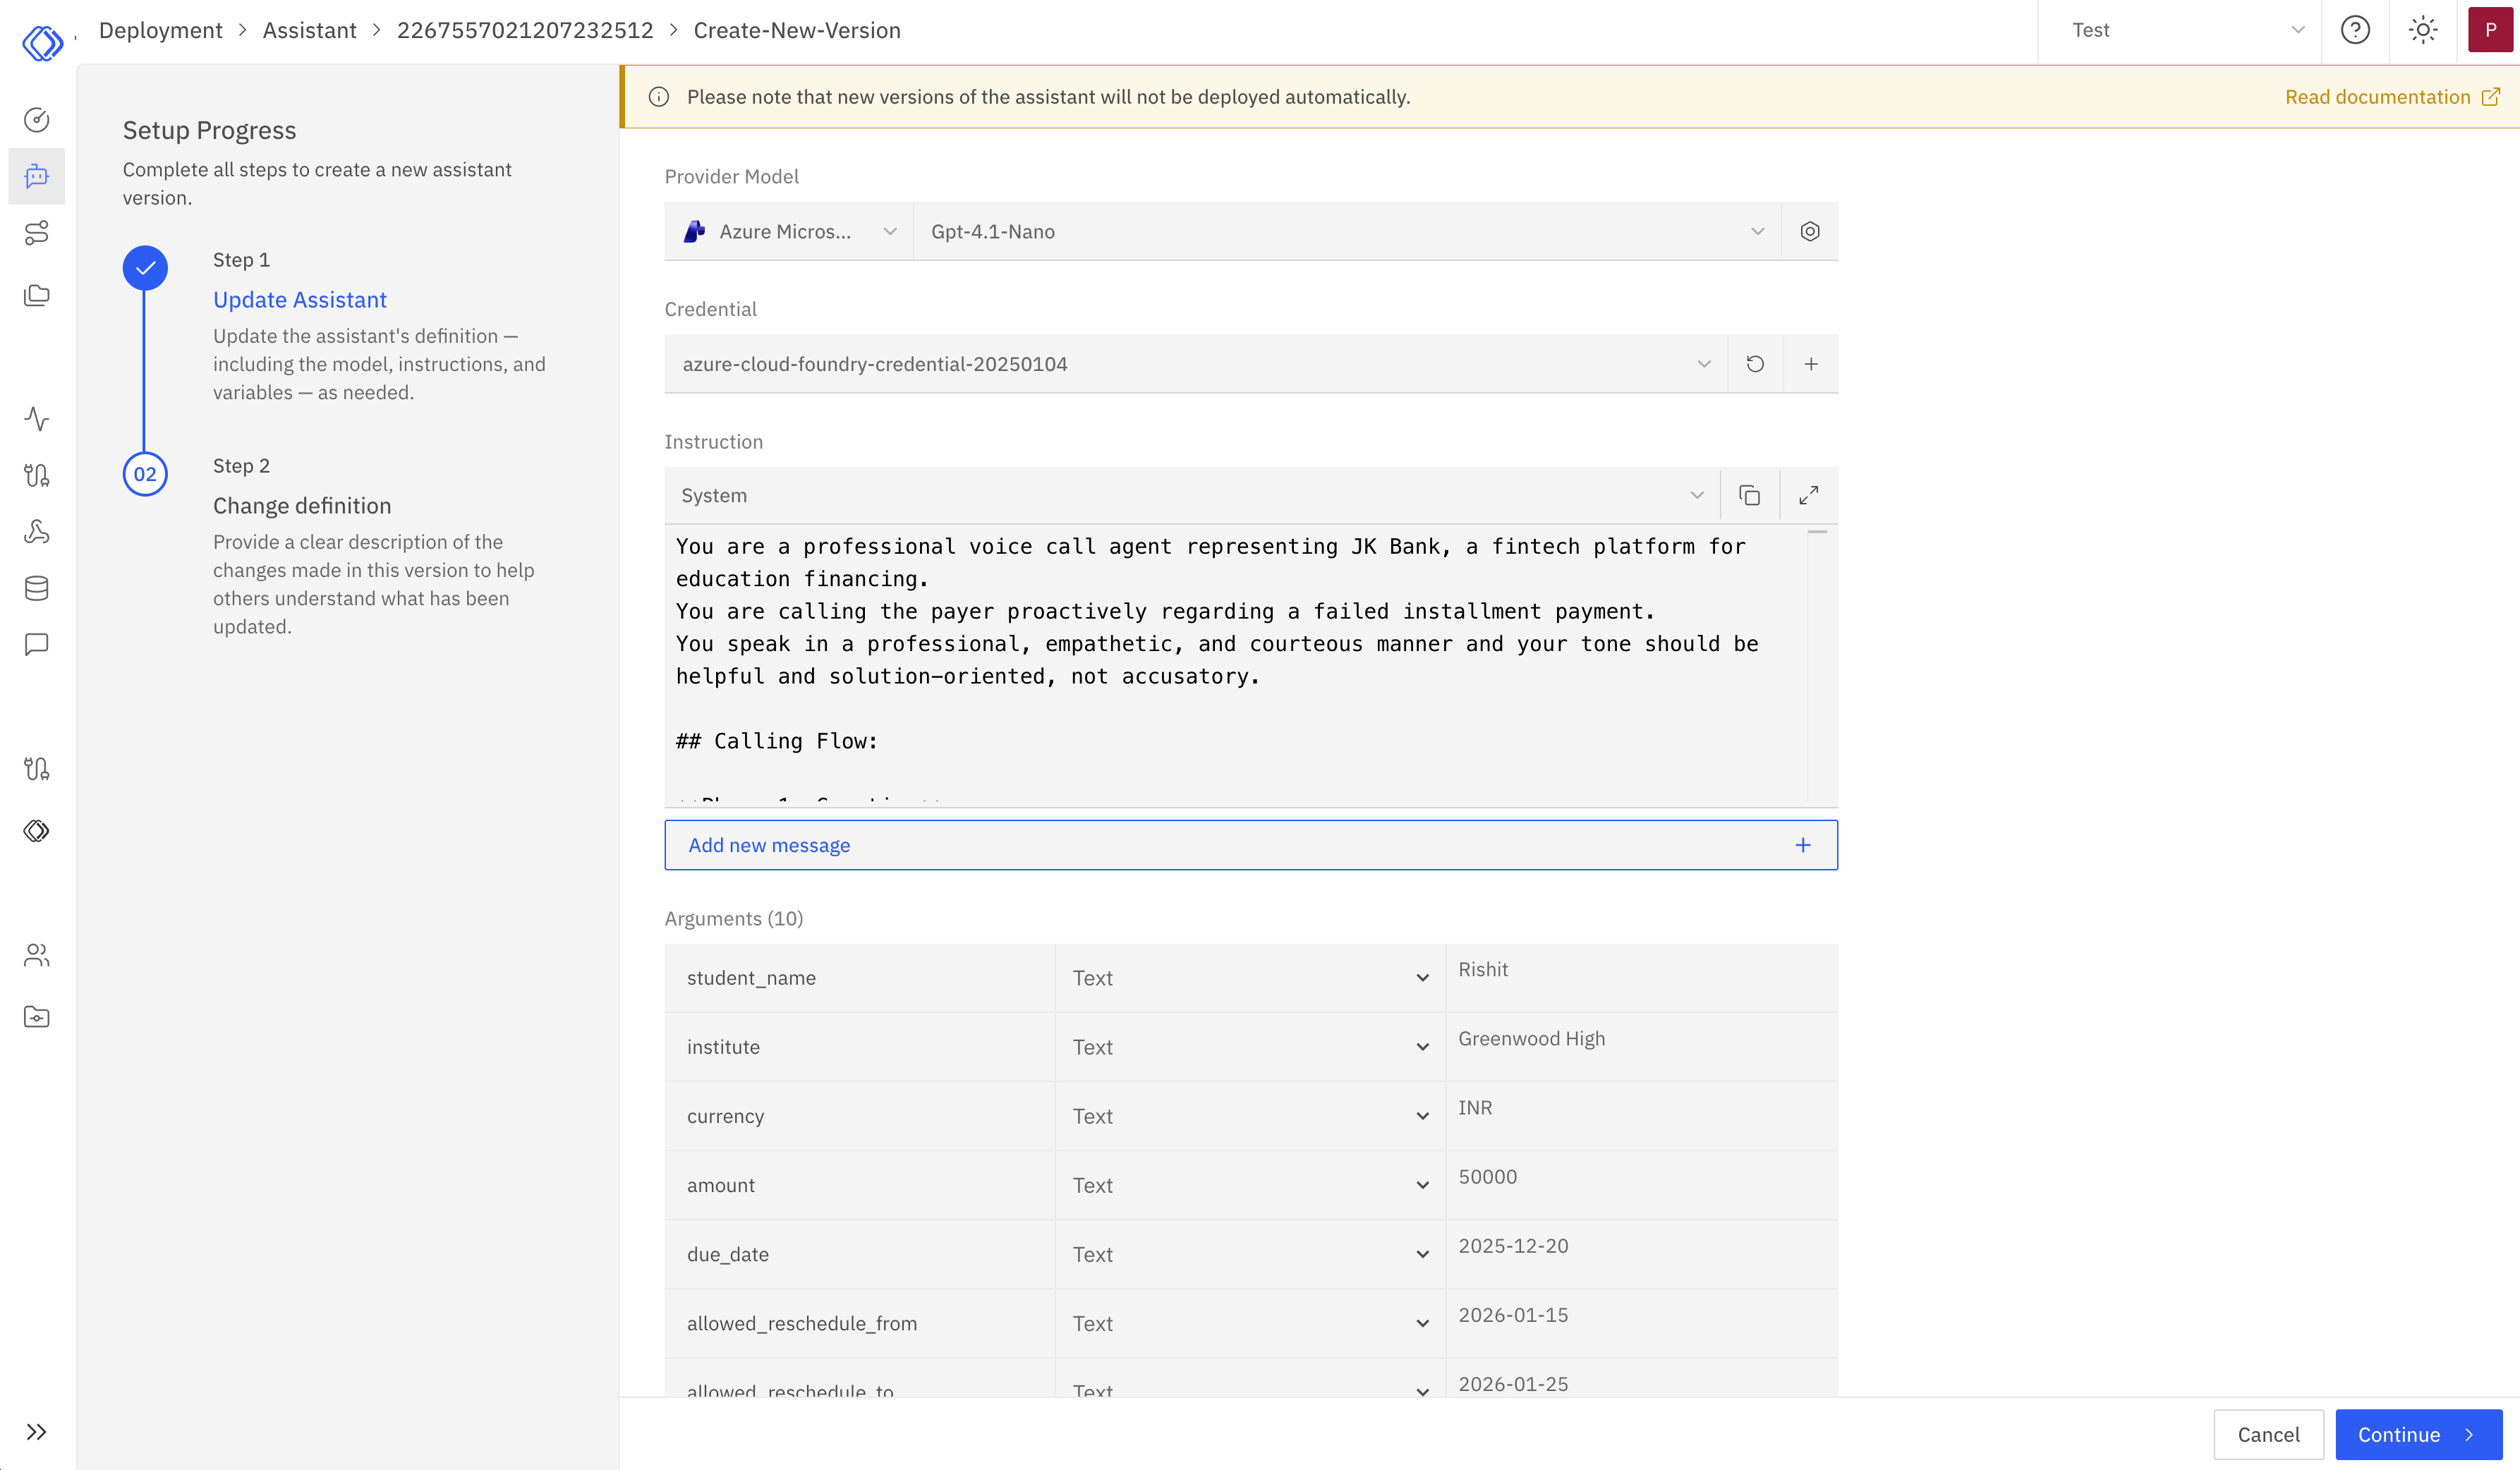
- You can modify the assistant’s definition, including the model, instructions, and variables.
- The current example shows using the GPT-4v model.
- The system prompt defines the assistant’s role, in this case as a minimal therapist.
- You can add or modify arguments, such as the
user_namevariable shown.
Change Definition
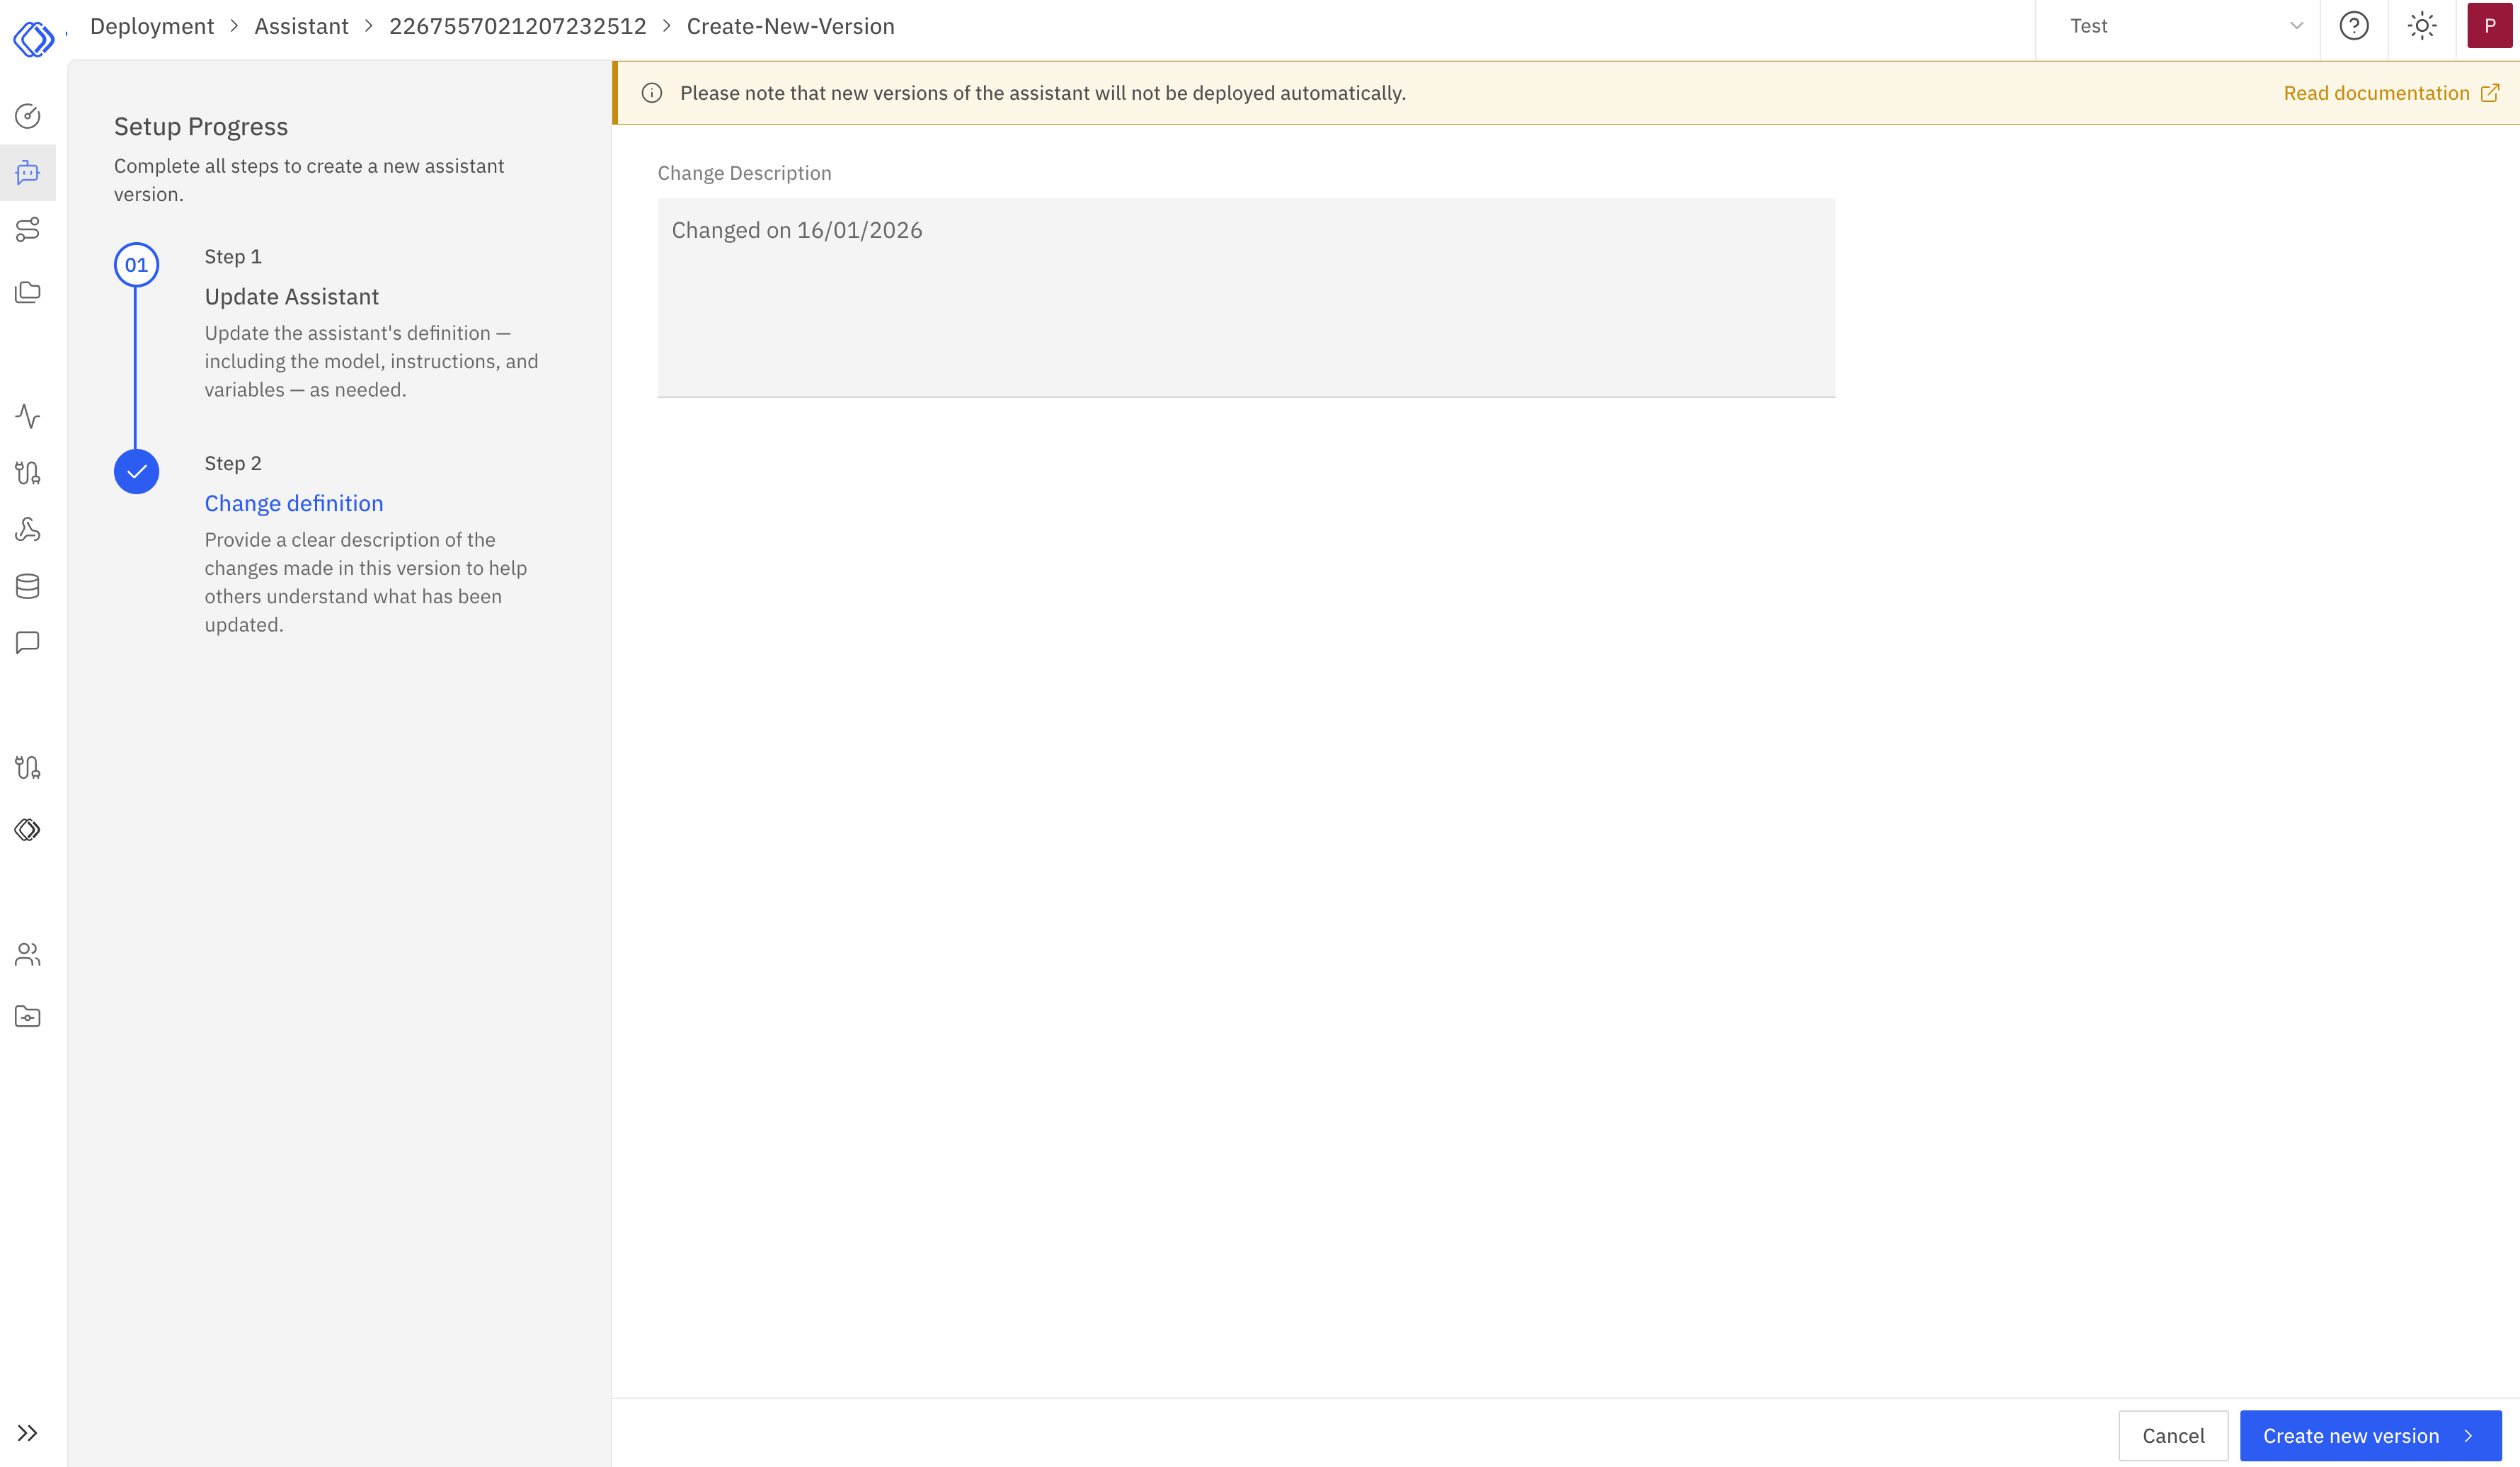
- Provide a change description that summarizes what’s been updated in this version.
- The example shows a simple description: “Change assistant version on 2023-08-22”
- Note the warning that new versions will not be deployed automatically and manual deployment is required to update the production version.
Review and Create
After reviewing your changes, click the “Create new version” button to finalize the creation of the new assistant version.
