- Navigate to the project listing page.
- Click on the “Create Project” or ”+” button (exact wording may vary).
-
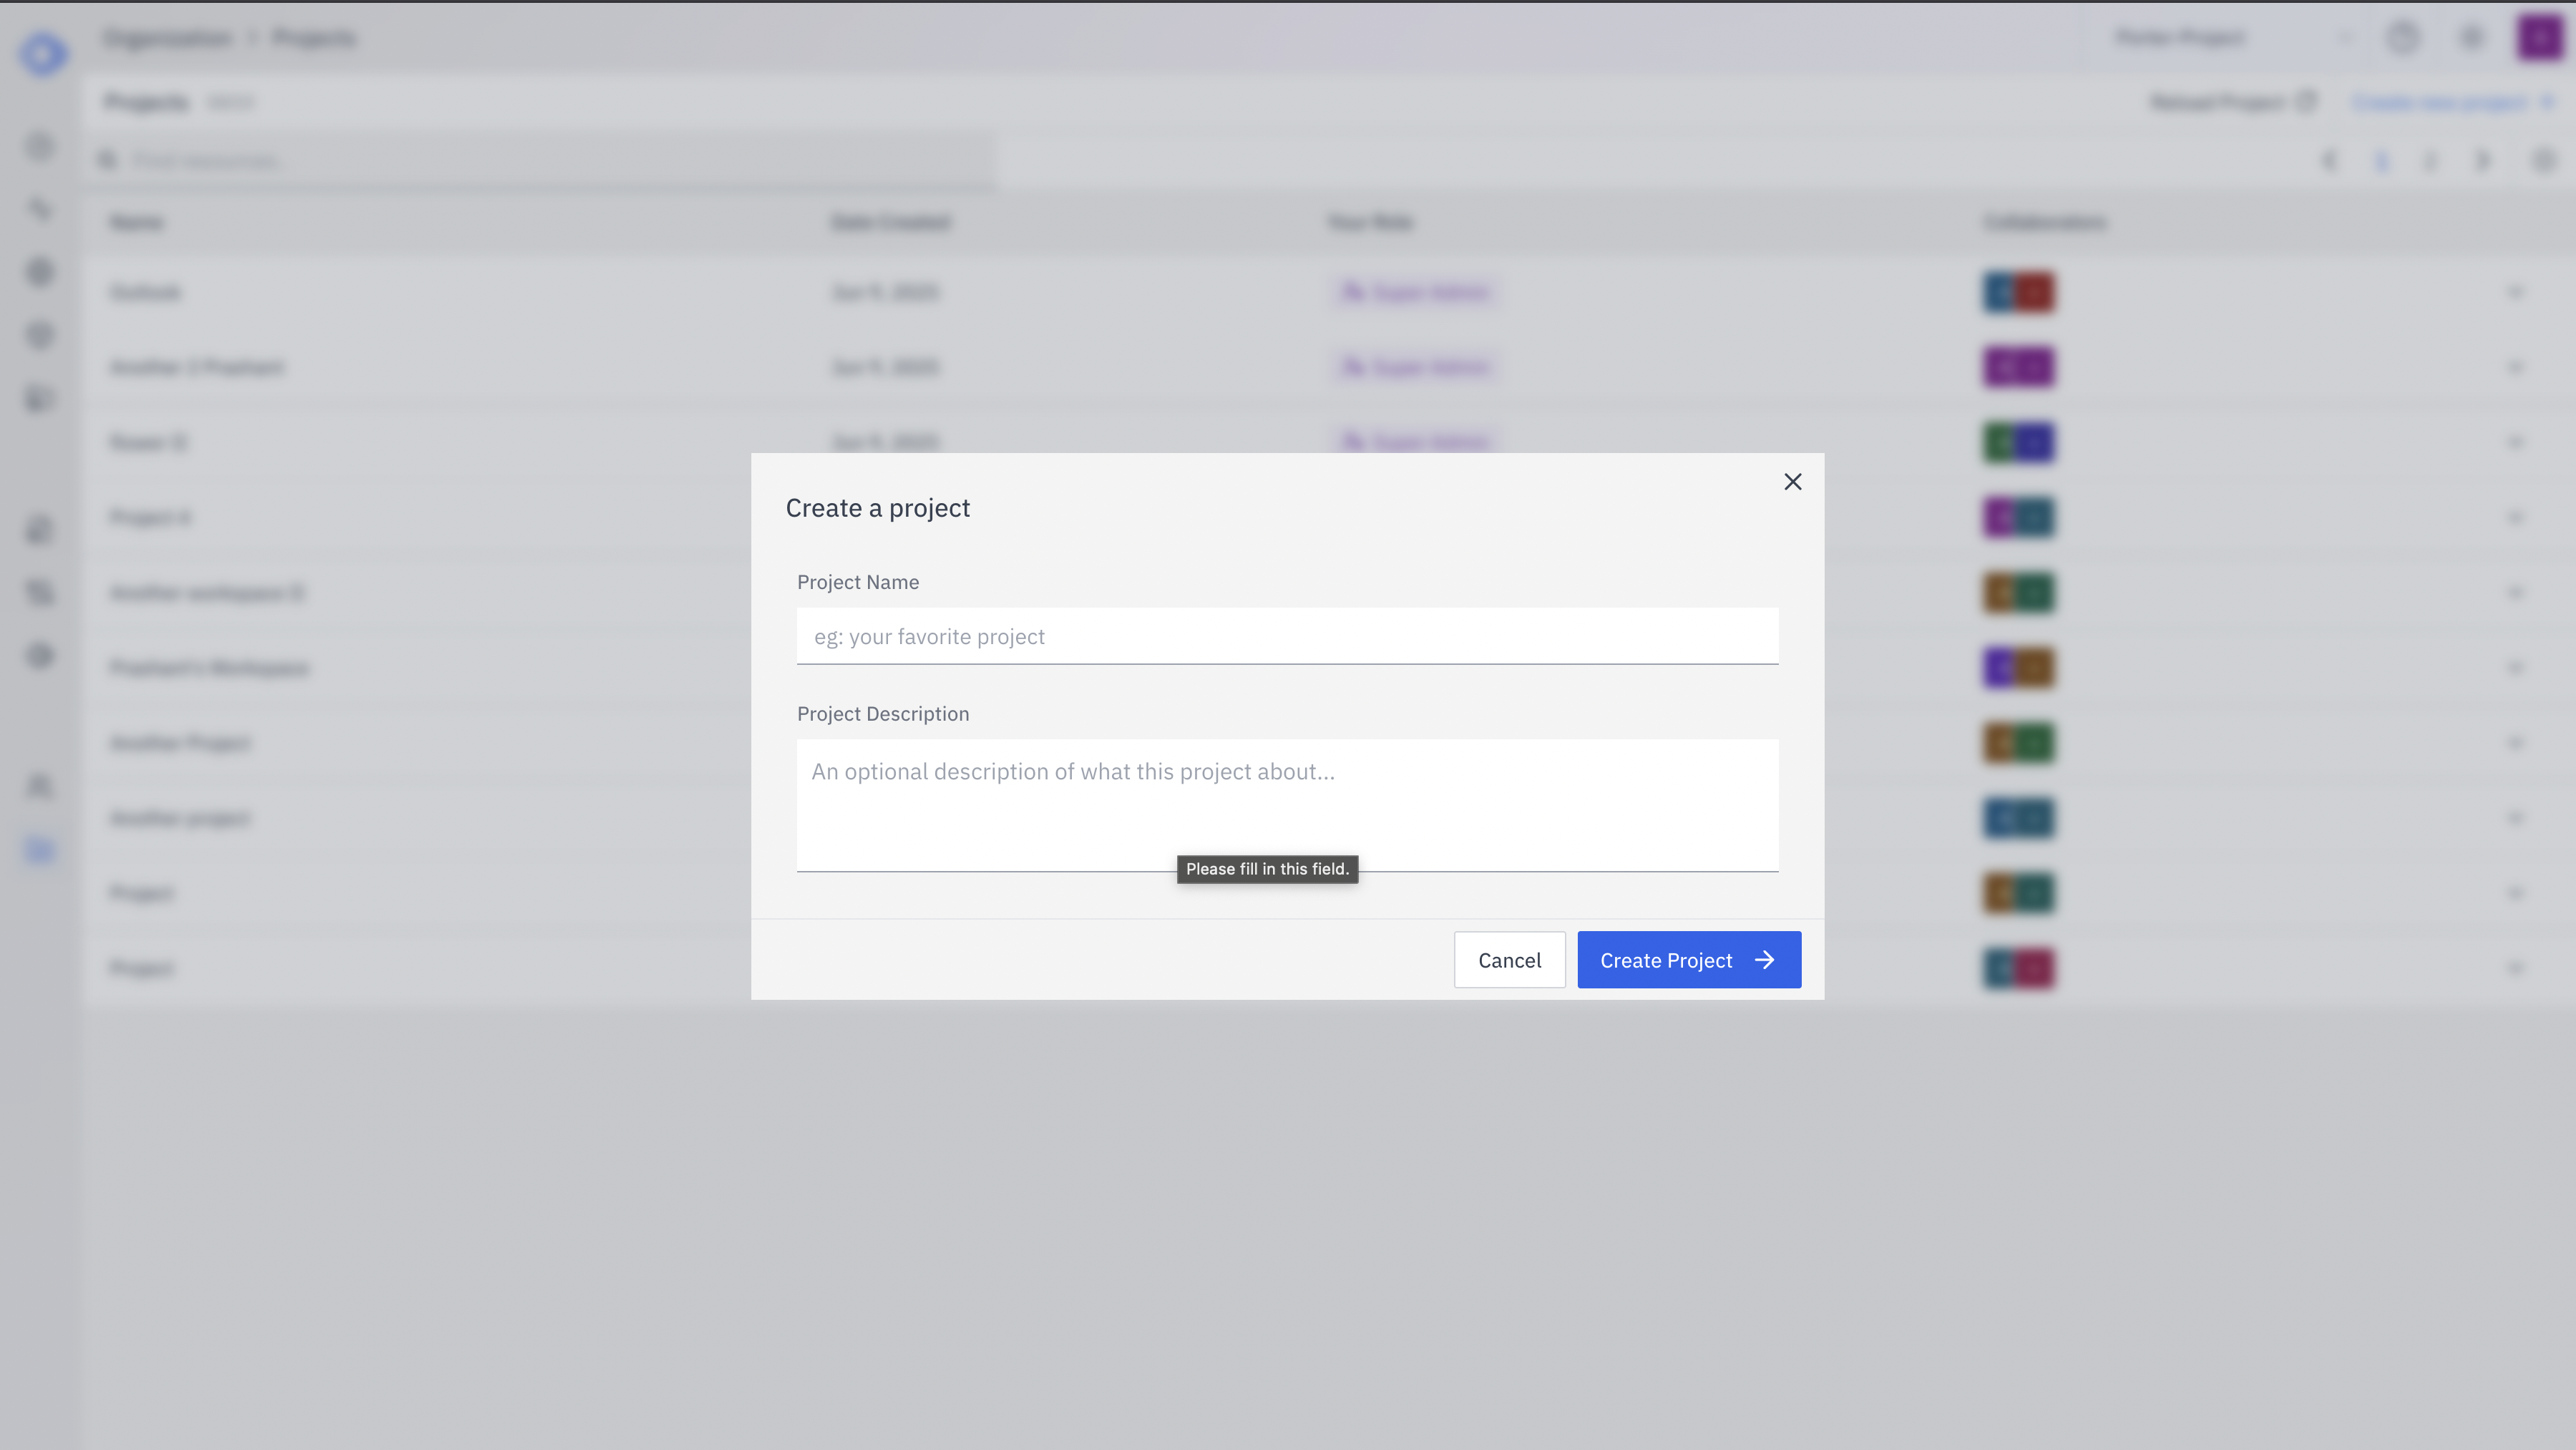
A dialog box will appear with the following fields:
- Project Name: Enter a unique, descriptive name for your project. Example: “My Favorite Project”
- Project Description: Provide a brief overview of what the project is about. This helps team members understand the project’s purpose at a glance.
- After filling in the required information, click the “Create Project” button.
Best Practices for Project Creation
- Choose a clear, concise name that reflects the project’s purpose.
- Write a description that gives a quick overview of the project’s goals.
- Consider who will need access to the project and be prepared to add collaborators.
Next Steps
After creating your project, you can:- Add collaborators and set their permissions
- Create assistants specific to your project needs
- Set up knowledge bases relevant to your project
- Configure project-specific endpoints