Prerequisites
Before creating a knowledge base, ensure that you have set up an embedding model with Rapida. To set up an embedding model:- Navigate to the Embedding Models section in your Rapida dashboard.
- Select the embedding model provider you want to use (e.g., OpenAI, Cohere, etc).
- Follow the provider-specific instructions to complete the setup.
Initiate Knowledge Base Creation
Click on the “Add new knowledge” button to start the process of creating a new knowledge base.
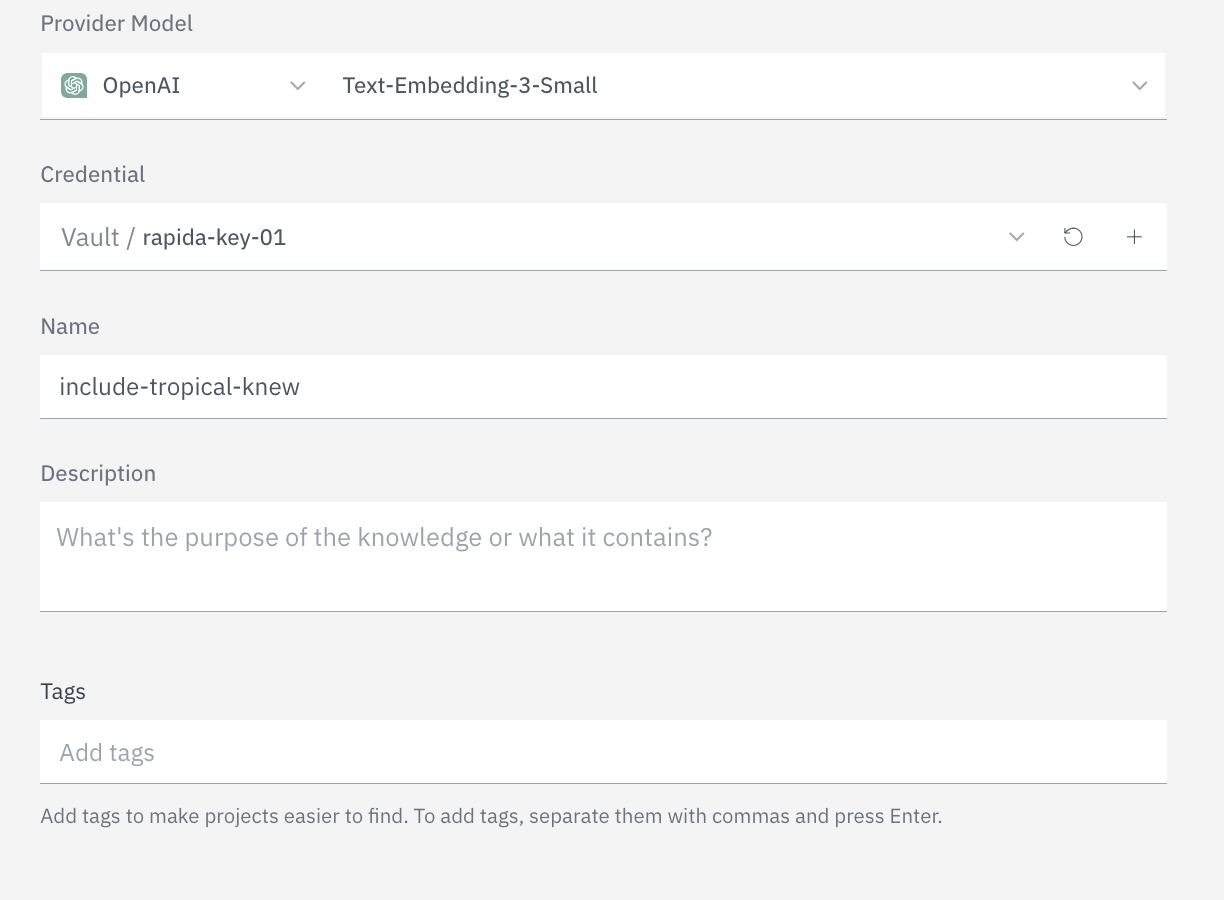
Select Embedding Model and Credentials
First, select an appropriate embedding model for your knowledge base by clicking the dropdown menu.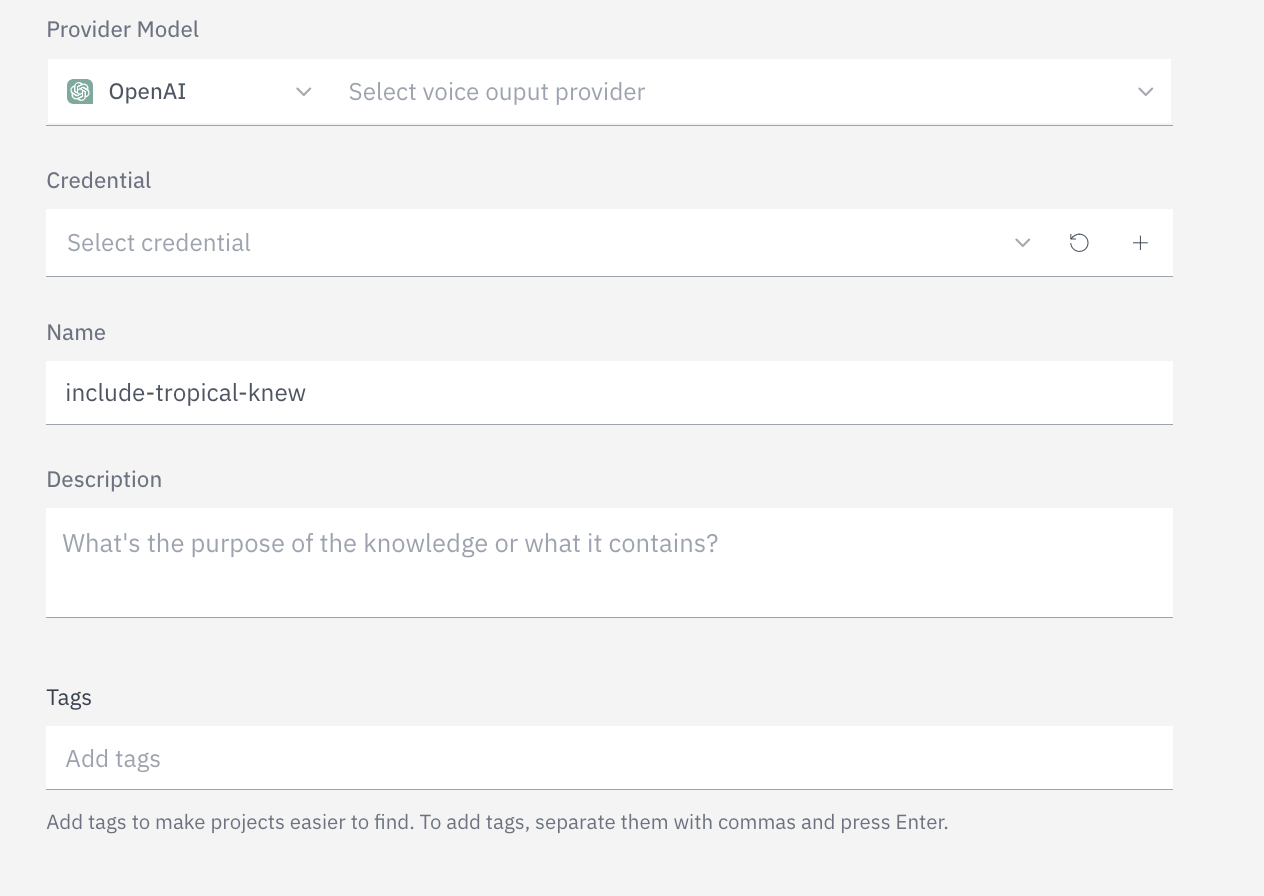
- Click the “Select credential” dropdown in the Credential section
- Choose from existing credentials for the selected provider, or click the ”+” button to add a new credential
- If adding a new credential, you’ll need to provide:
- A name for the credential
- The API key or required authentication information for the selected provider
- OpenAI: API key
- VoyageAI: API key
- Google AI: API key
- Cohere: API key
Enter Basic Information
Complete all required fields in the knowledge base creation form:
- Name: Enter a descriptive name for your knowledge base in the text field (e.g., “Our website database”).
- Description: Provide a brief explanation of the purpose of this knowledge base or what type of content it contains.
- Tags: Add relevant tags to make your knowledge base easier to find. Separate tags with commas and press Enter to confirm each tag.
- Review Information: Double-check all entered information for accuracy.
-
Create Knowledge Base: Click the blue “Create knowledge” button in the bottom right corner to proceed.
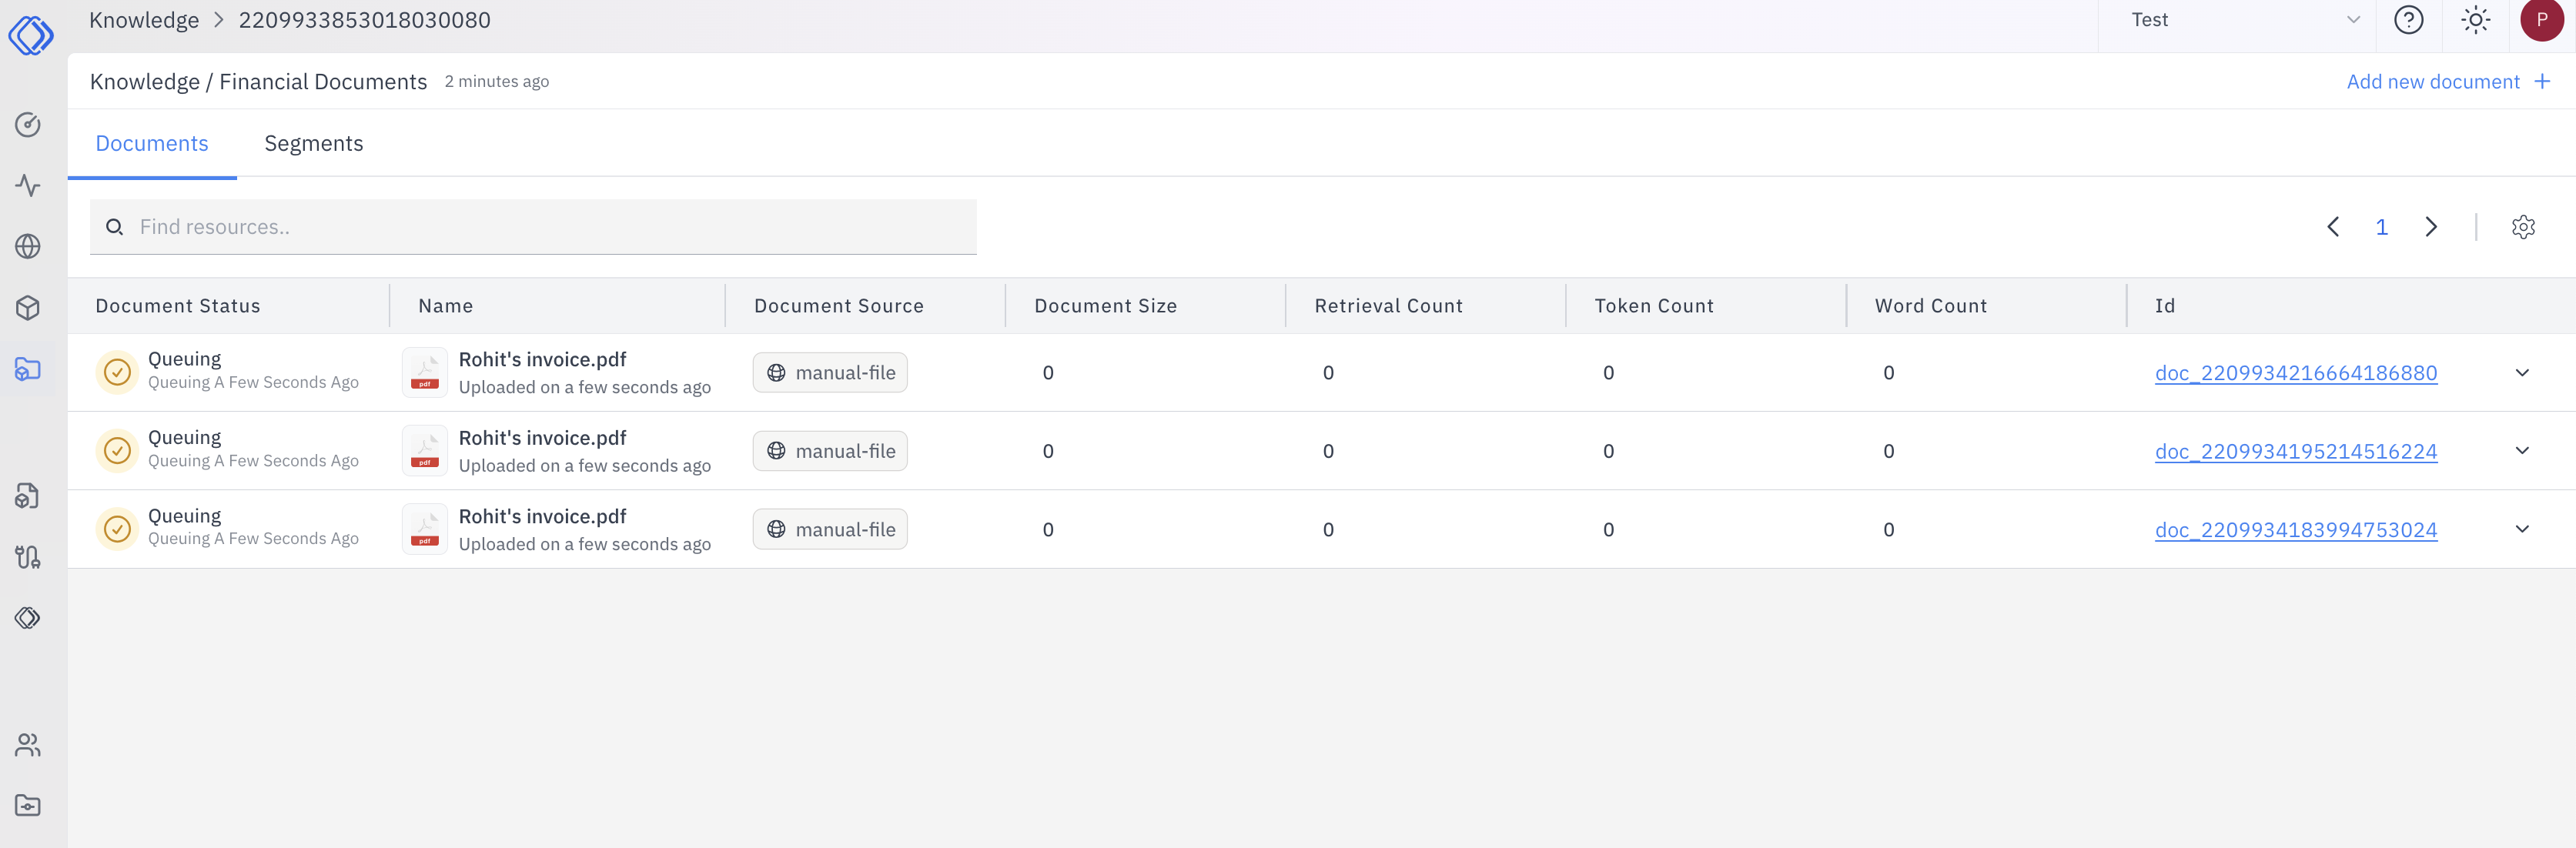
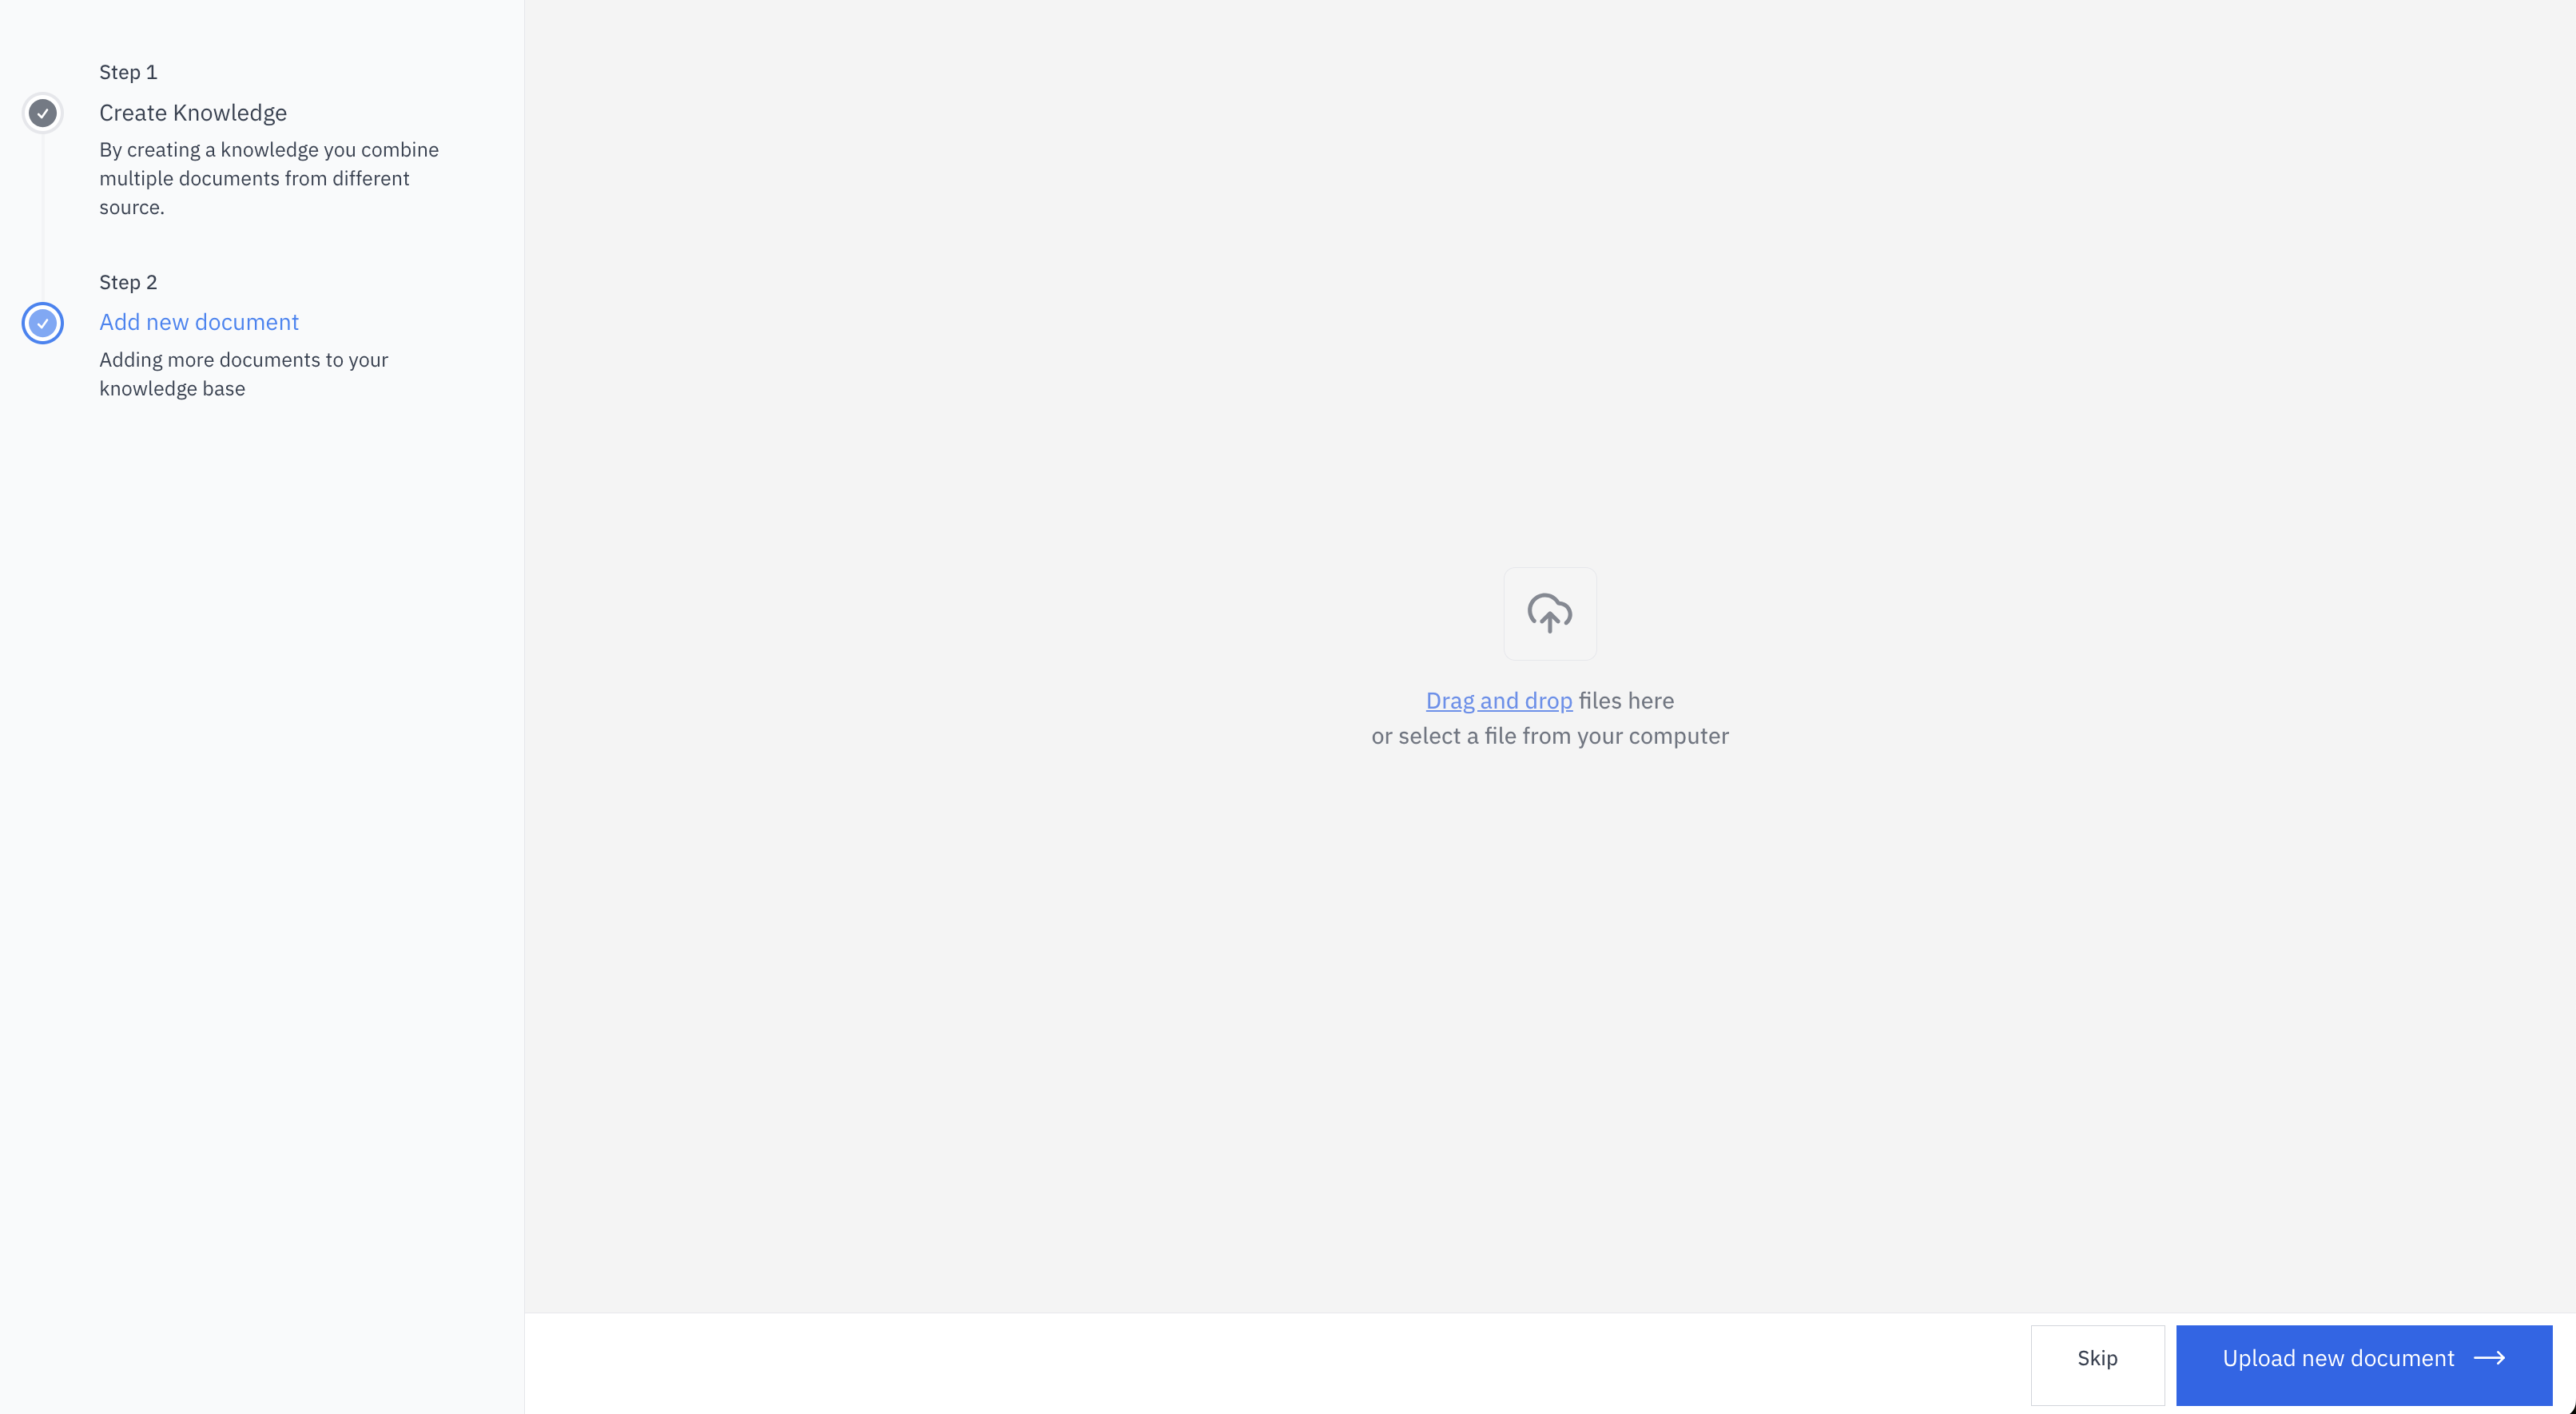
Upload Content
Upload the relevant content for your knowledge base:
- Drag and drop files or click to select files from your computer
-
Supported file formats will be processed and added to your knowledge base
Review and Create
Review all the information and settings for your knowledge base.
Click “Upload new Document” to finalize the creation process.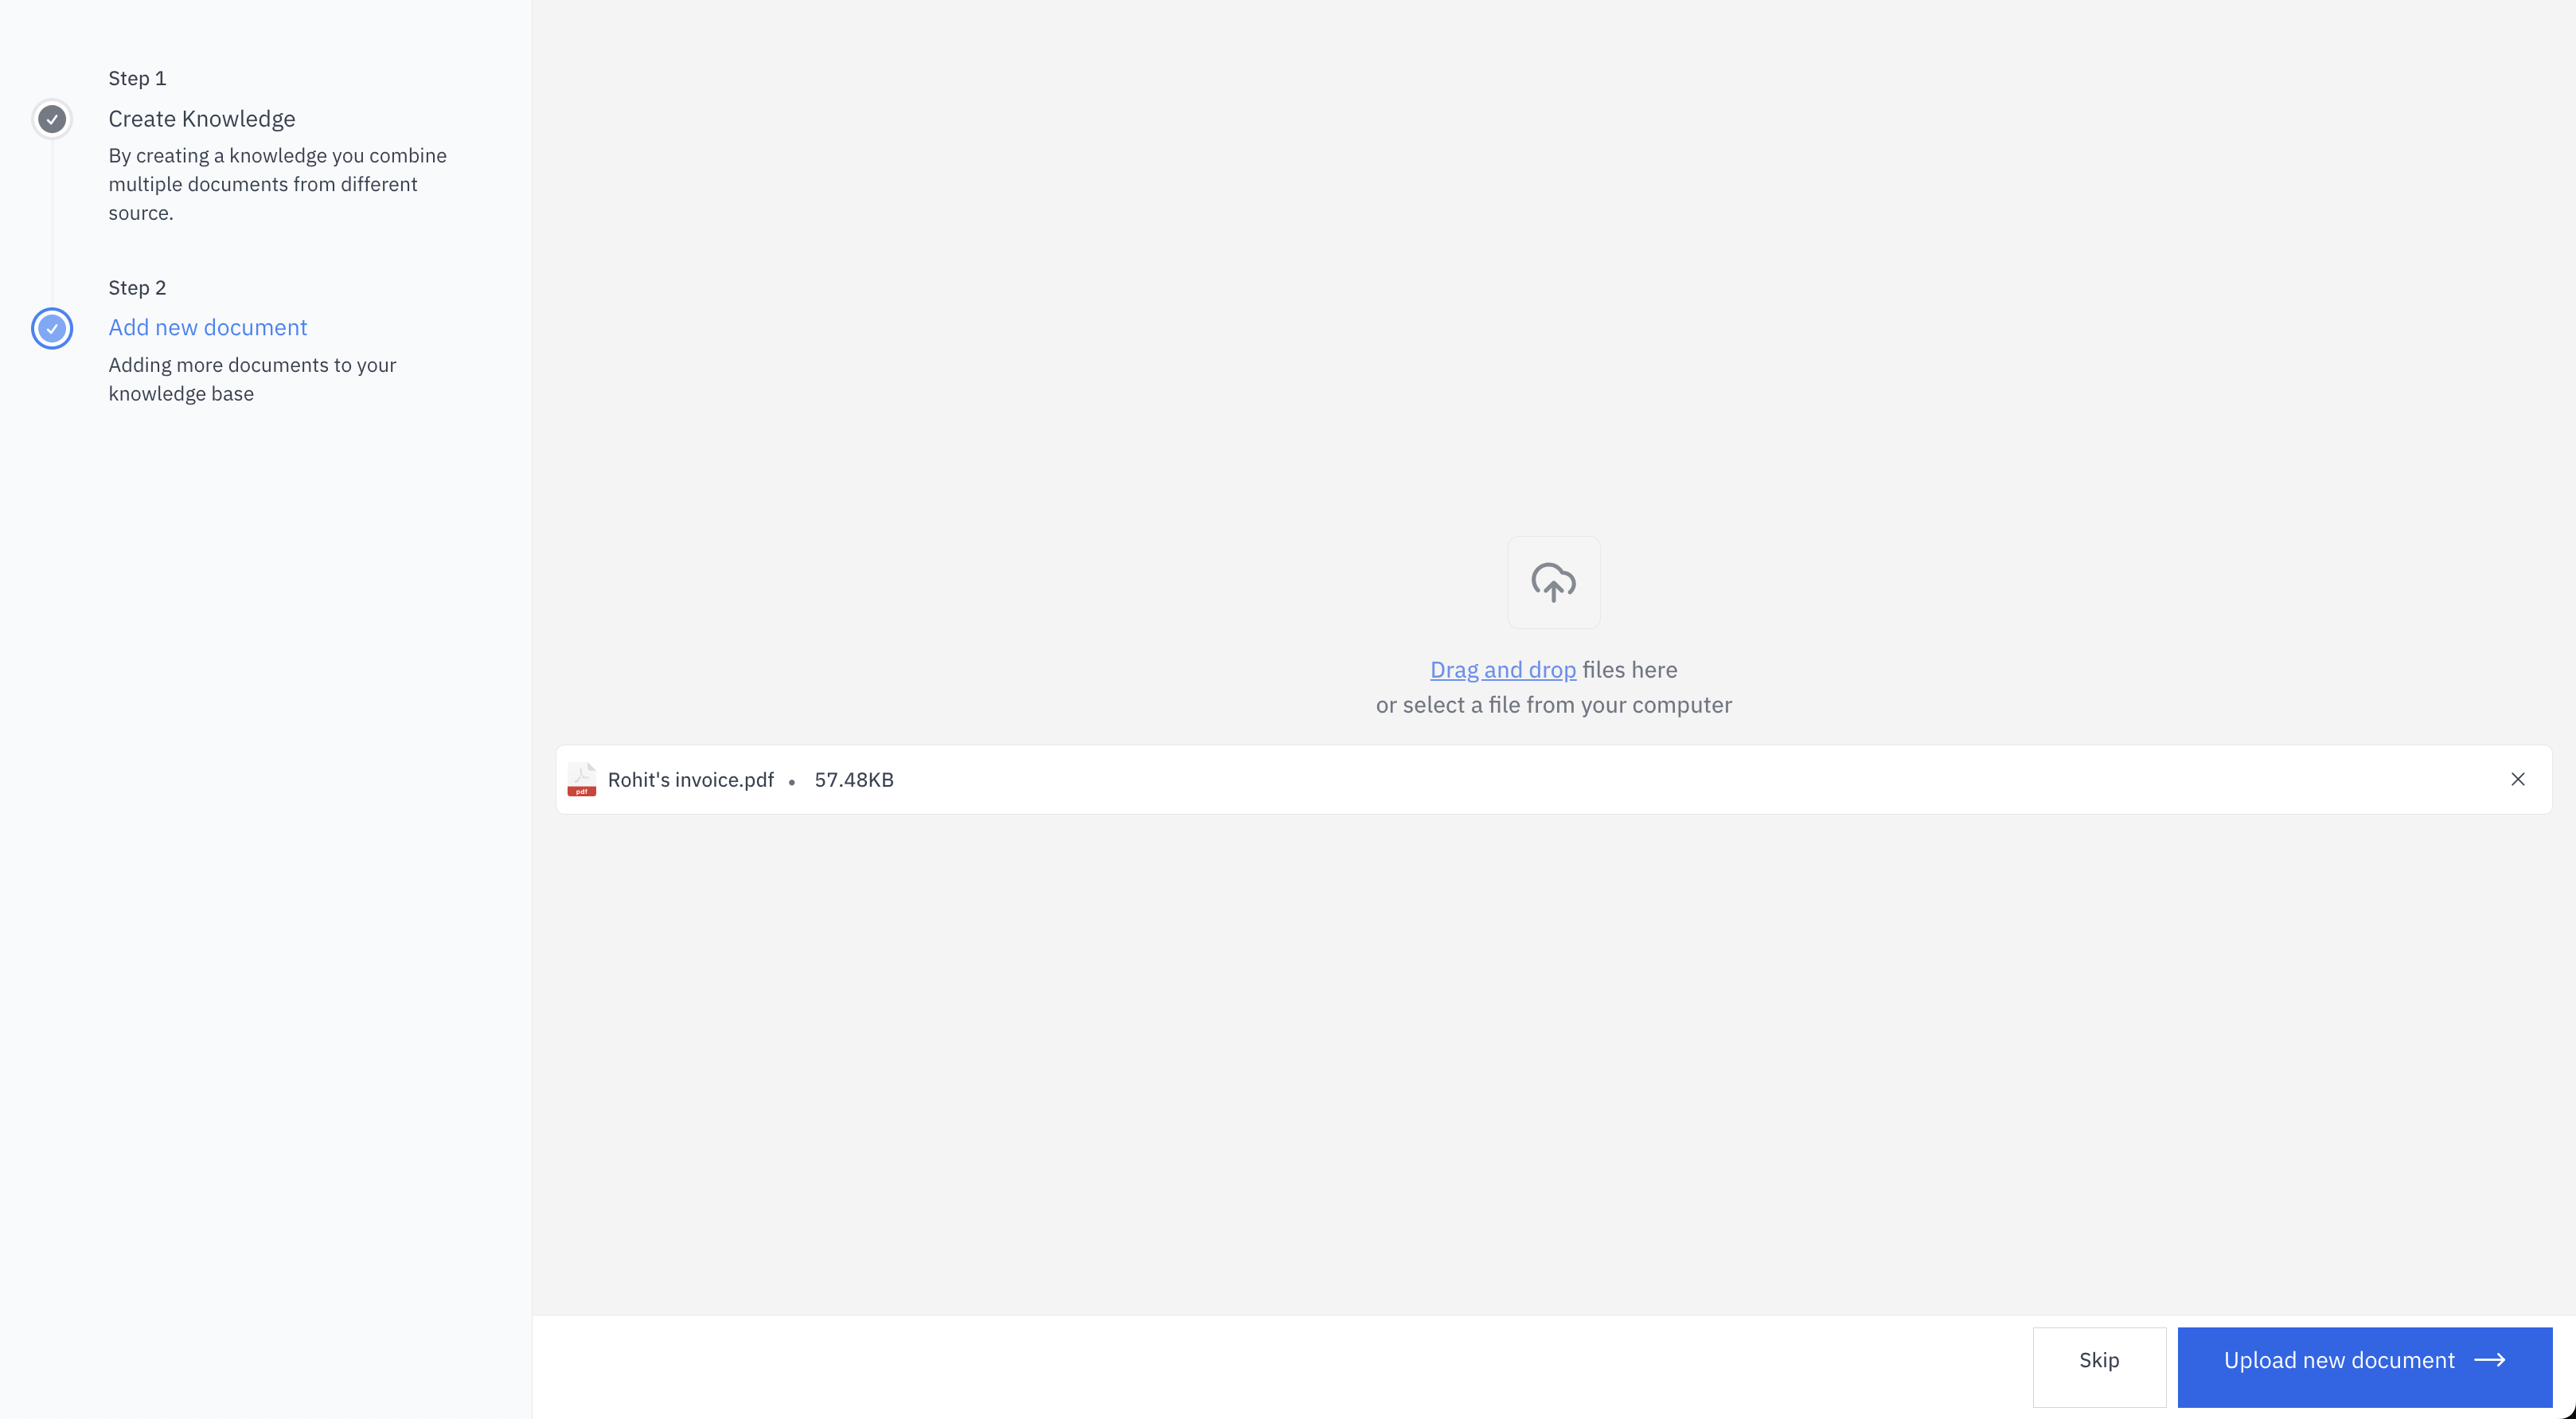
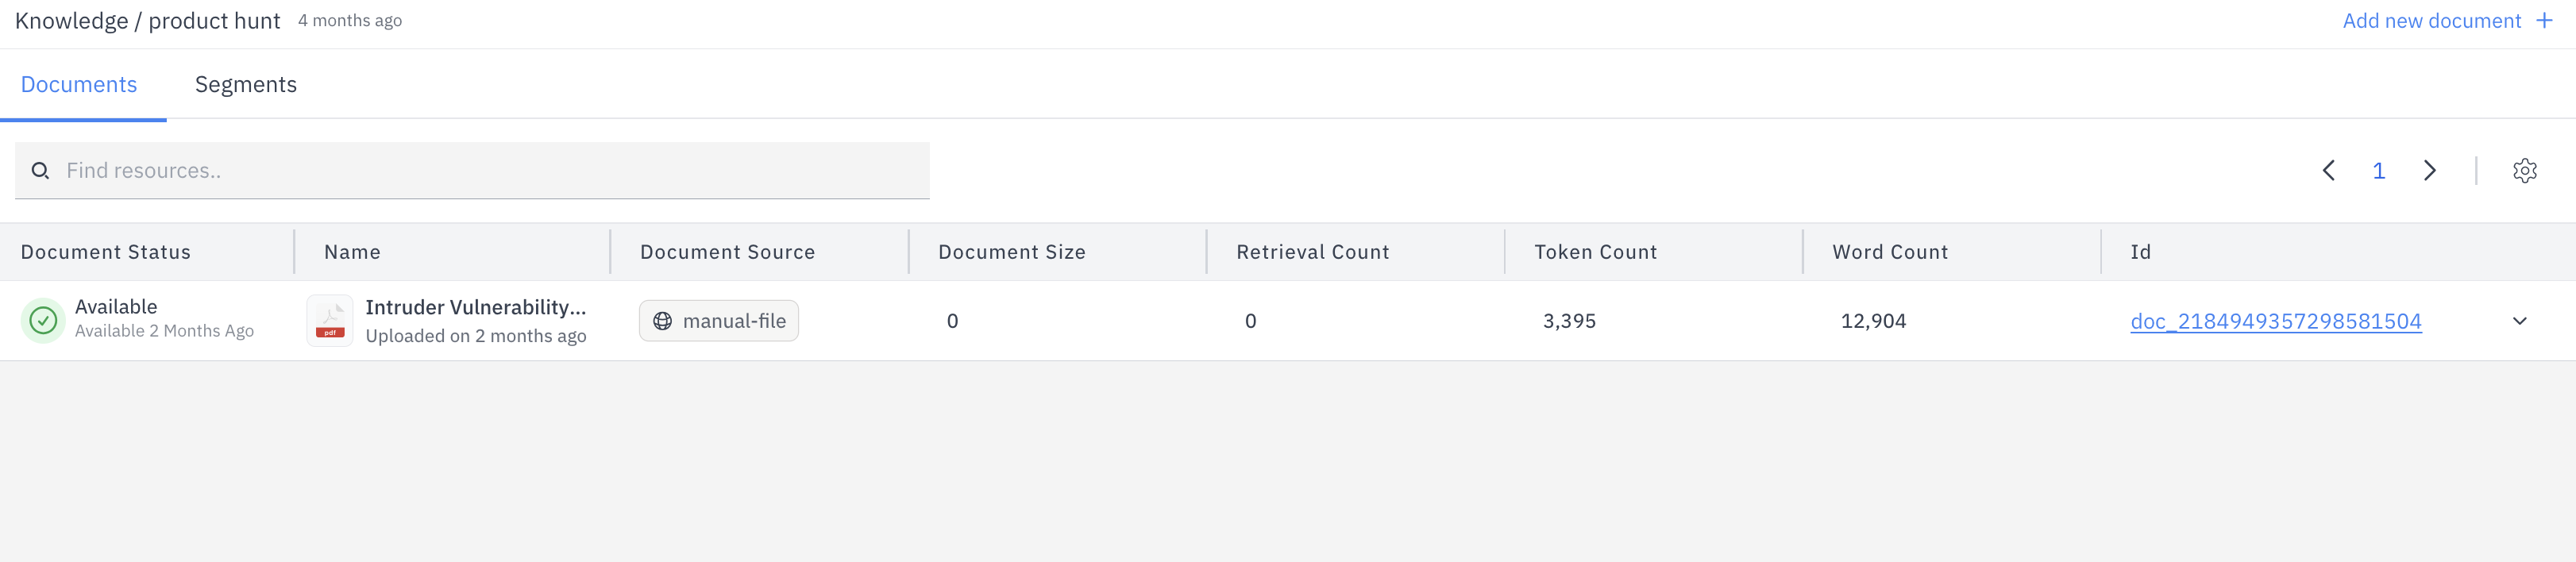
Success Confirmation
You’ll see a confirmation that your knowledge base has been created successfully.
The parsing and tokenization of the documents will take a while.