Getting Started
To integrate Vonage with your Rapida application, follow these steps:Prerequisites
- An active Vonage account
- Access to Vonage’s API credentials
Setting Up Provider Credentials
1
Access the Integrations Page
Navigate to the “Integration > Tools” page. Here you’ll see a grid of various external integrations including Vonage.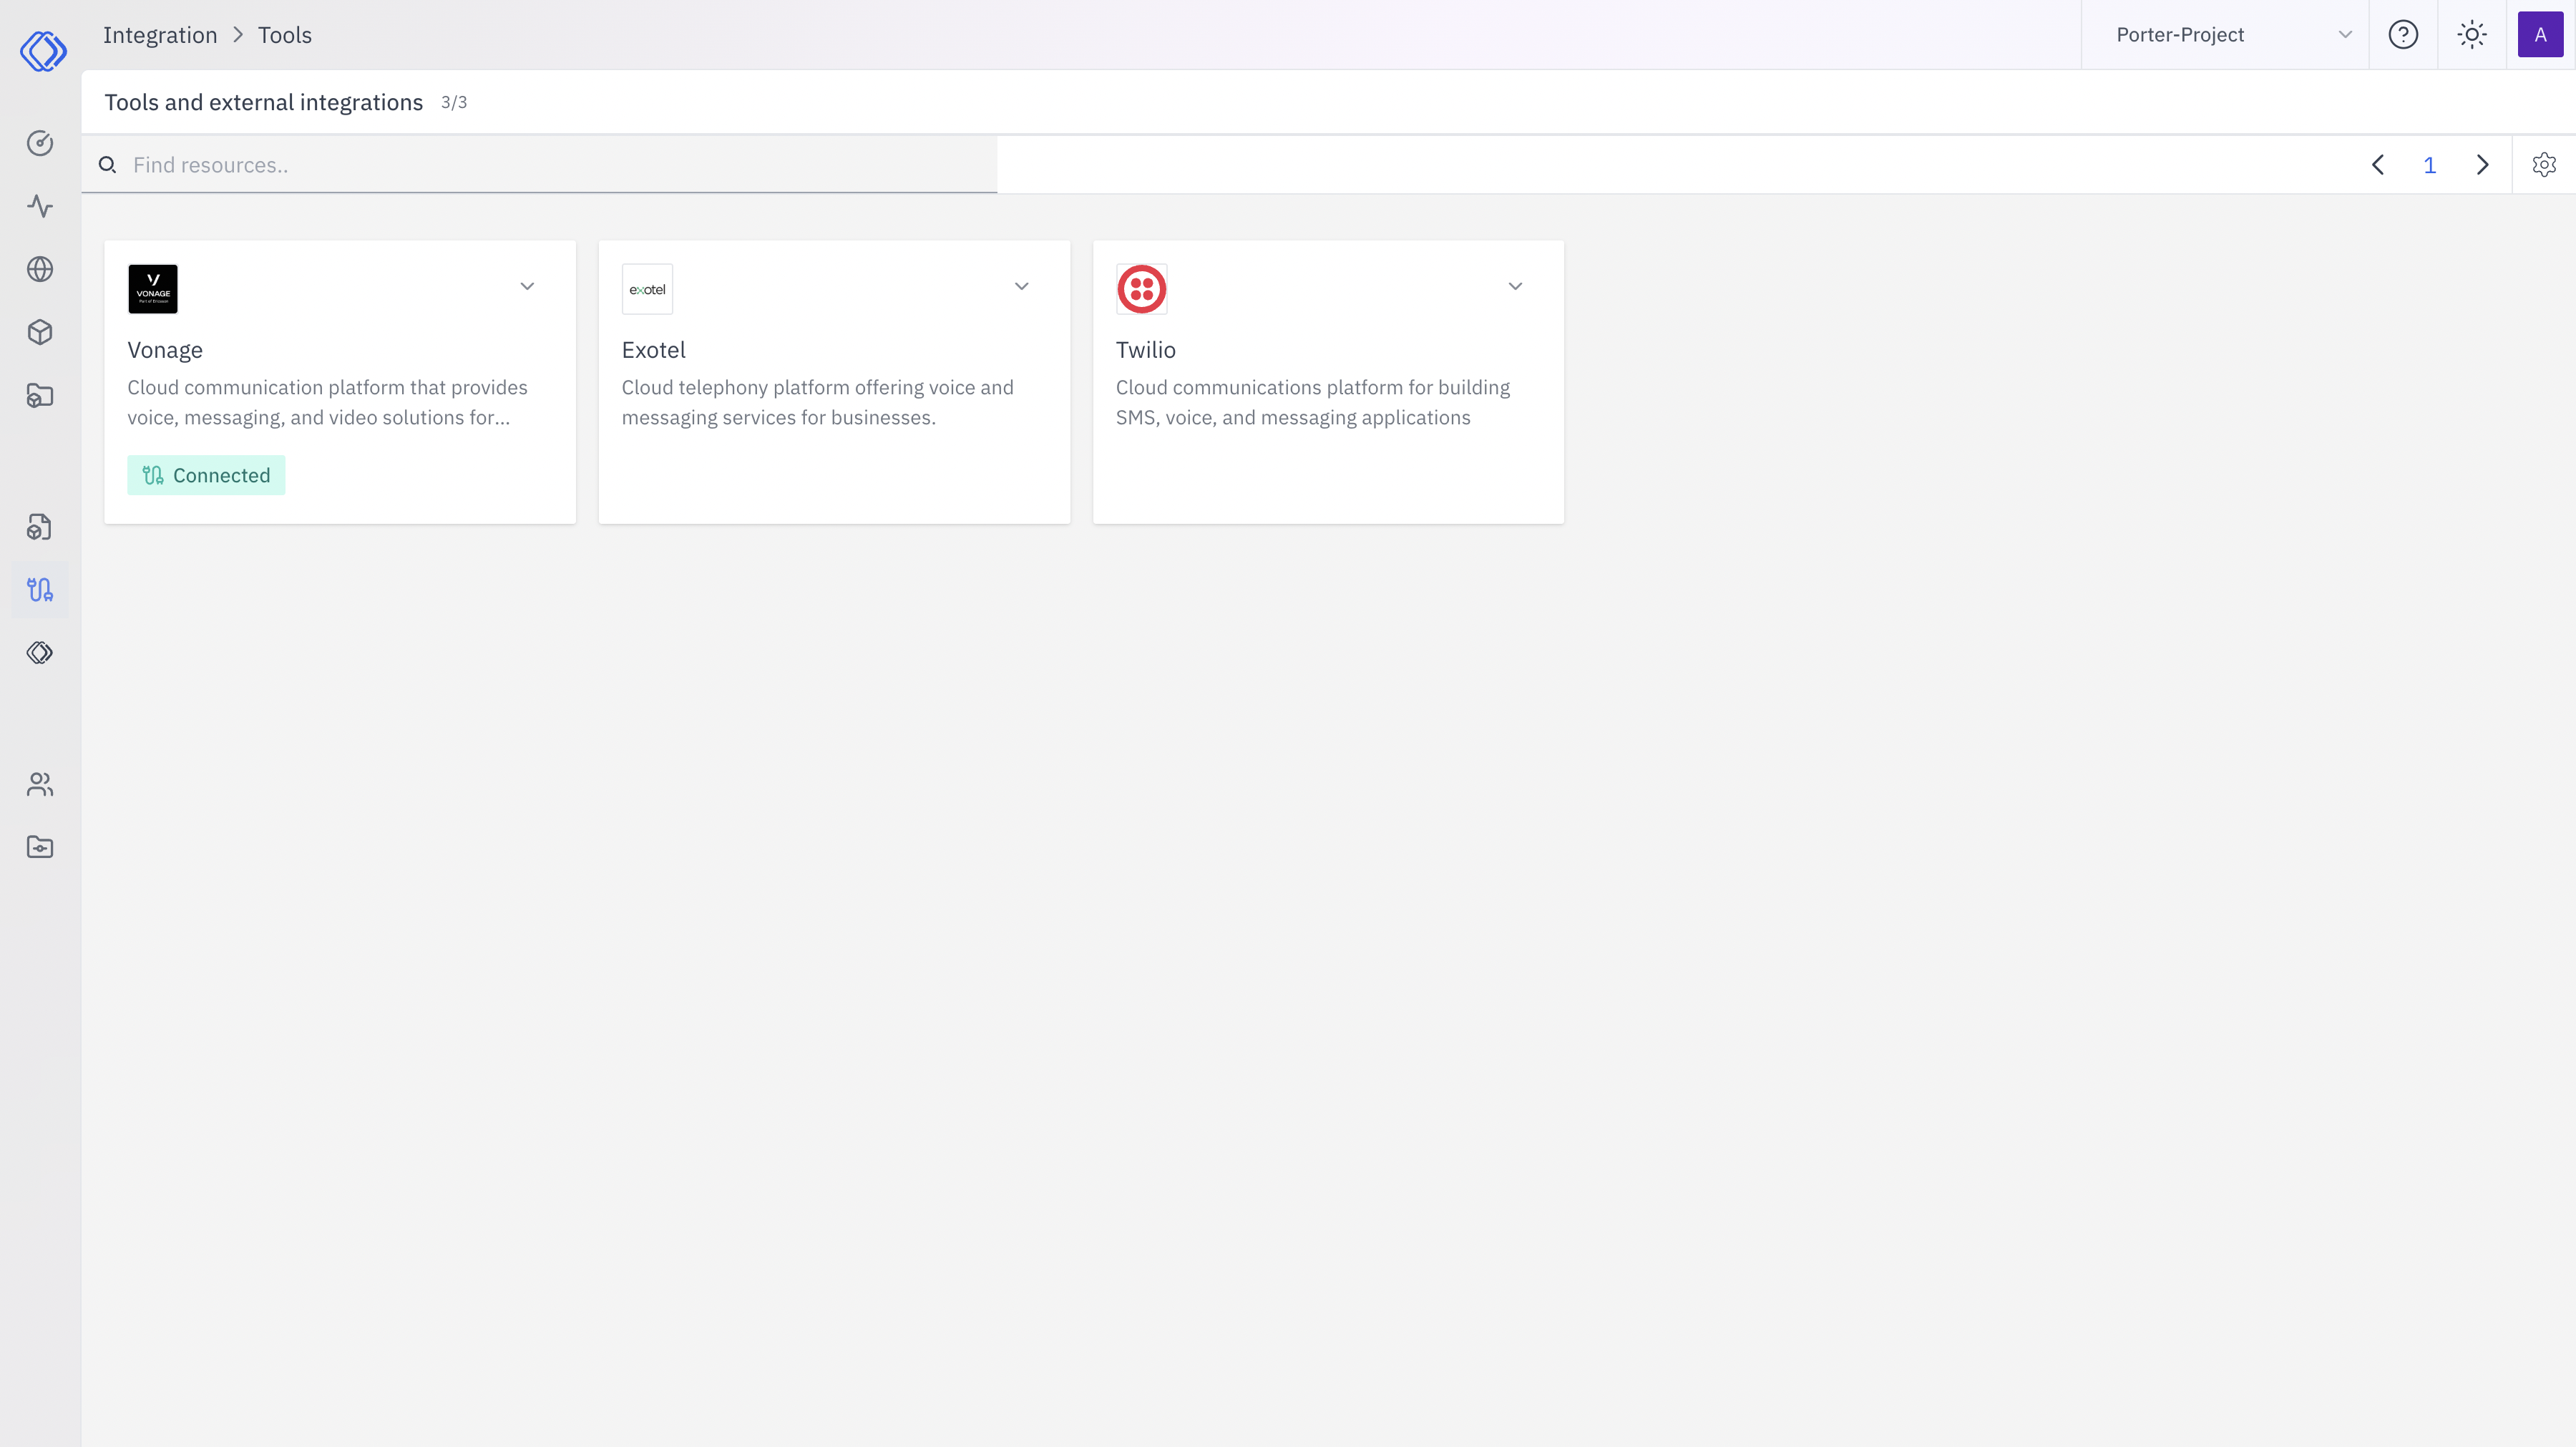
2
Select Vonage
On the Integrations page, find the Vonage card. Click the “Setup Credential” button for Vonage.
3
Create Provider Credential

- Ensure Vonage is selected from the dropdown
- Enter a Key Name: Assign a unique name to this Vonage credential for easy identification
- Enter the required credentials:
- Vonage API Key
- Vonage API Secret
- Vonage Application ID (if applicable)
- Click “Configure” to save the credentials
4
Verify Credential Setup
After setting up the credential, you can verify it’s been added:
- The Vonage card should now show “Connected”
- If you click on Vonage, you’ll see a “View provider credential” modal
- This modal displays the credential name, when it was last updated, and options to delete or close
Features
Vonage integration provides the following features:- Voice Calls: Make outbound calls and receive inbound calls
- SMS: Send and receive text messages
- Video: Implement video calling and conferencing
- Number Insight: Get detailed information about phone numbers
- Verify: Implement two-factor authentication (2FA)
Usage Examples
Here are some common use cases for Vonage integration:- Customer Support: Set up a cloud-based call center for your support team
- Appointment Reminders: Send automated voice or SMS reminders to customers
- Two-Factor Authentication: Use SMS or voice calls for secure user verification
- Lead Management: Automate outbound calls for sales and marketing campaigns
- Video Conferencing: Implement secure video meetings for remote teams