> ## Documentation Index
> Fetch the complete documentation index at: https://doc.rapida.ai/llms.txt
> Use this file to discover all available pages before exploring further.
# SIP Trunk
> Connect any SIP-compatible PBX, carrier, or VoIP provider to Rapida AI for voice conversations.
SIP (Session Initiation Protocol) Trunking provides a direct connection between your telephony infrastructure and Rapida. This is ideal for organizations that already use a SIP-compatible PBX (such as FreeSWITCH, Kamailio, or hosted SIP providers) and want to connect their existing phone lines to an AI voice assistant without relying on a specific cloud telephony vendor.
SIP Trunk is a **bring-your-own-carrier** option. Rapida runs a native SIP server that accepts inbound SIP INVITE requests and establishes RTP media sessions directly. This provides the lowest latency path for voice AI interactions.
## How It Works
```mermaid theme={null}
sequenceDiagram
participant Caller
participant PBX as Your SIP PBX / Carrier
participant SIP as Rapida SIP Server
participant AI as AI Pipeline (STT → LLM → TTS)
Caller->>PBX: Dials phone number
PBX->>SIP: SIP INVITE (via configured trunk)
SIP->>SIP: Authenticate + resolve assistant
SIP-->>PBX: 200 OK (SDP with RTP port)
rect rgb(230, 255, 230)
Note over PBX,AI: RTP Media Session
PBX->>SIP: RTP audio stream
SIP->>AI: Audio → STT → LLM → TTS
AI->>SIP: TTS audio
SIP->>PBX: RTP audio frames
PBX->>Caller: AI speaks
end
Caller->>PBX: Hangup
PBX->>SIP: SIP BYE
SIP->>SIP: End conversation + cleanup
```
***
## Prerequisites
A SIP-compatible PBX, carrier, or VoIP provider that can send calls to an external SIP URI
An active Rapida account with a configured voice assistant
You will need:
* Your SIP trunk provider's **SIP URI** (e.g., `sip:trunk.provider.com:5060`)
* Optional **SIP Username** and **Password** if your trunk requires authentication
***
## Step 1: Set Up Provider Credentials
Store your SIP trunk credentials in Rapida so the platform can authenticate with your SIP infrastructure.
Go to **Integration > Tools** in the Rapida dashboard. You will see a grid of available external integrations.
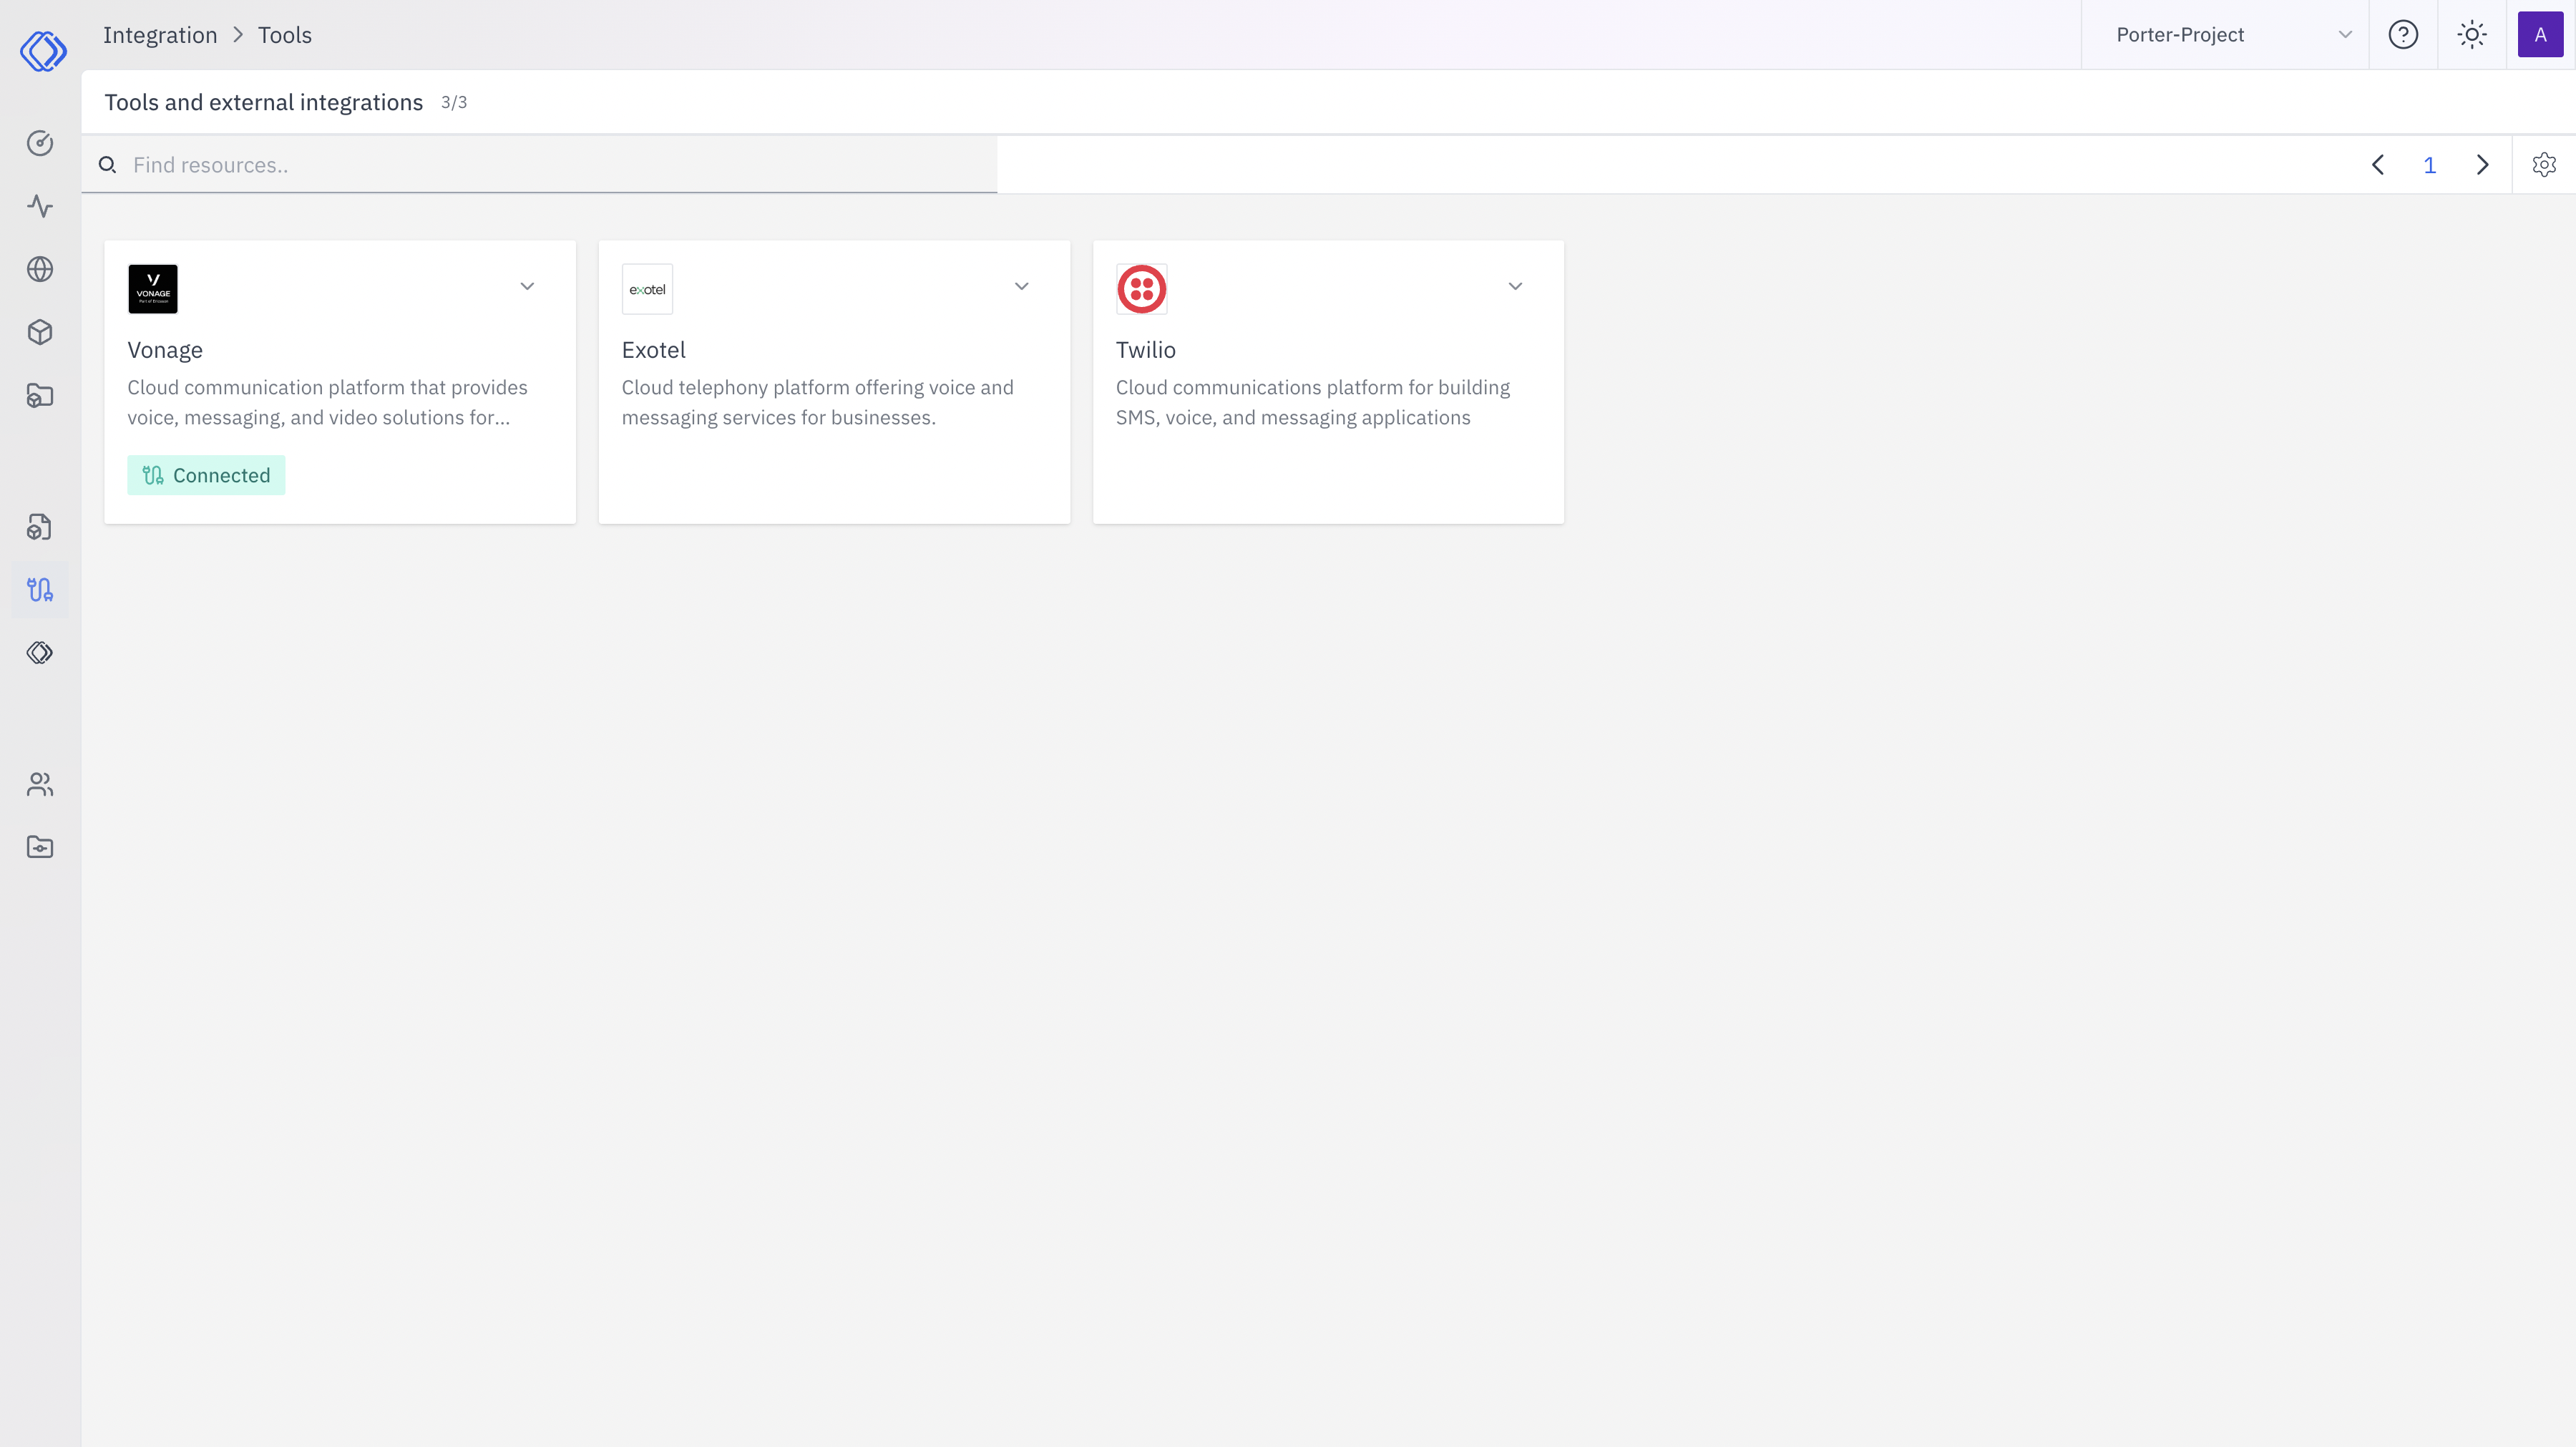 Find the **SIP Trunk** card and click **"Setup Credential"**.
A modal will appear. Fill in the following fields:
| Field | Description | Required |
| ---------------- | ------------------------------------------------------------ | -------- |
| **Key Name** | A friendly name for this credential (e.g., "Office PBX") | Yes |
| **SIP URI** | The SIP trunk endpoint (e.g., `sip:trunk.provider.com:5060`) | Yes |
| **SIP Username** | Authentication username for the SIP trunk | No |
| **SIP Password** | Authentication password for the SIP trunk | No |
Click **"Configure"** to save.
If your SIP provider uses IP-based authentication (allow-listing Rapida's IP), you can leave the username and password fields empty.
After saving, the SIP Trunk card should display **"Connected"**. Click on it to see credential details, last updated time, and management options.
***
## Step 2: Configure Phone Deployment
With credentials saved, configure your assistant's phone deployment to use SIP.
Navigate to **Assistants** and select the assistant you want to deploy via phone.
Click **"Deploy"** → **"Phone"** to open the phone deployment configuration page.
In the **Telephony** section:
1. Select **SIP Trunk** from the telephony provider dropdown
2. Choose the SIP credential you created in Step 1 from the **Credential** dropdown
3. Enter the **Caller ID** — the phone number to display for outbound calls (e.g., `+15551234567`)
Set up the conversation experience:
| Setting | Description | Default |
| ------------------------ | ---------------------------------------------- | ------------------ |
| **Greeting** | The first message the AI speaks when answering | *(optional)* |
| **Error Message** | Message spoken when an error occurs | *(optional)* |
| **Idle Timeout** | Seconds before prompting an idle caller | `30` |
| **Idle Message** | Message spoken when caller is idle | `"Are you there?"` |
| **Idle Timeout Retries** | How many times to retry before ending call | `2` |
| **Max Call Duration** | Maximum call length in seconds | `300` |
Select your **Speech-to-Text** (STT) and **Text-to-Speech** (TTS) providers. These determine how audio is transcribed and synthesized during the call.
Click **"Deploy"** to save. Your assistant is now ready to handle phone calls via SIP.
***
## Step 3: Configure Your PBX / SIP Provider
Route calls from your PBX or SIP carrier to Rapida's SIP server.
In your PBX admin panel (FreeSWITCH, Asterisk, Kamailio, or hosted provider), create a new SIP trunk pointing to Rapida's SIP endpoint.
**Rapida SIP Server:**
```
sip:sip-01.in.rapida.ai:5060
```
Configure your trunk with:
* **Outbound Proxy**: `sip-01.in.rapida.ai:5060`
* **Transport**: UDP or TCP
* **Codec**: G.711 μ-law (PCMU) preferred, G.711 A-law (PCMA) supported
Add a dial plan entry that routes specific numbers or patterns to the Rapida SIP trunk.
**FreeSWITCH example:**
```xml theme={null}
```
**Asterisk example (extensions.conf):**
```ini theme={null}
[rapida-trunk]
exten => _X.,1,Dial(SIP/did-${EXTEN}@rapida-trunk)
```
Place a test call to confirm the call reaches Rapida and the AI assistant answers.
***
## Inbound SIP URI Routing
Rapida routes inbound SIP calls from the user portion of the request URI. The `To` URI is used first; if it has no user, Rapida falls back to the `From` URI.
Accepted inbound destination formats:
| Format | Example | Resolution |
| --------------------------------------- | ----------------------------------------------- | ---------------------------------------------------------------------------------- |
| `sip:agent-{assistantID}@{host}:{port}` | `sip:agent-123456789@sip-01.in.rapida.ai:5060` | Routes directly by numeric assistant ID |
| `sip:did-{did}@{host}:{port}` | `sip:did-+15551234567@sip-01.in.rapida.ai:5060` | Looks up the active SIP phone deployment whose phone value exactly matches `{did}` |
| `sip:{did}@{host}:{port}` | `sip:+15551234567@sip-01.in.rapida.ai:5060` | Same DID lookup, without the `did-` prefix |
The same route user forms are accepted with `sips:` when the SIP listener is configured for TLS.
The DID value is matched exactly against the phone number stored on the assistant's active SIP phone deployment. `+15551234567` and `15551234567` are different route values.
Credential-style users such as `sip:{assistantID}:{apiKey}@host` are not accepted for inbound routing. Use `agent-{assistantID}`, `did-{did}`, or the raw DID form.
***
## Making Outbound Calls
Once your phone deployment is configured, you can initiate outbound calls through your SIP trunk using the Rapida API or SDKs.
```python theme={null}
from rapida import Rapida
client = Rapida(api_key="rpd-xxx-your-key")
call = client.calls.create(
assistant_id=123456789,
to_number="+15551234567",
metadata={"campaign": "follow-up"},
)
print(f"Call queued: conversation_id={call.conversation.id}")
```
```typescript theme={null}
import { Rapida } from 'rapida';
const client = new Rapida({ apiKey: 'rpd-xxx-your-key' });
const call = await client.calls.create({
assistantId: 123456789,
toNumber: '+15551234567',
metadata: { campaign: 'follow-up' },
});
console.log(`Call queued: ${call.conversation.id}`);
```
```bash theme={null}
curl -X POST https://api.rapida.ai/v1/talk/call \
-H "Authorization: Bearer rpd-xxx-your-key" \
-H "Content-Type: application/json" \
-d '{
"assistant": { "assistant_id": 123456789 },
"to_number": "+15551234567",
"metadata": { "campaign": "follow-up" }
}'
```
***
## Features
| Feature | Description |
| -------------------------- | ------------------------------------------------------------------------------ |
| **Bring Your Own Carrier** | Use any SIP-compatible provider or on-premise PBX |
| **Direct SIP Connection** | Native SIP INVITE/BYE handling with RTP media — no intermediary cloud provider |
| **Low Latency** | Direct RTP audio path minimizes round-trip delay |
| **Inbound Calls** | Accept calls routed from your PBX to the AI assistant |
| **Outbound Calls** | Initiate calls programmatically via SDK or API through your SIP trunk |
| **Call Recording** | Automatic conversation capture for review and compliance |
| **Codec Support** | G.711 μ-law (PCMU), G.711 A-law (PCMA) |
| **Flexible Auth** | Digest authentication or IP-based allow-listing |
***
## Supported PBX / Providers
SIP Trunk works with any standard SIP-compliant system, including:
| System | Type |
| ---------------------- | ------------------------------------------------ |
| **FreeSWITCH** | Open-source softswitch |
| **Asterisk** | Open-source PBX (also has dedicated integration) |
| **Kamailio** | SIP proxy/router |
| **Twilio Elastic SIP** | Cloud SIP trunking |
| **Vonage SIP Connect** | Cloud SIP trunking |
| **Bandwidth** | Cloud SIP trunking |
| **Telnyx** | Cloud SIP trunking |
| **SignalWire** | Cloud SIP trunking |
If you're using Twilio, Vonage, Exotel, or Asterisk, consider using the dedicated integrations for those providers — they offer additional features like webhook-based call control and provider-specific optimizations.
***
## Troubleshooting
* Verify the SIP URI in your credential is correct and reachable
* Check that your PBX can route to `sip-01.in.rapida.ai:5060` (firewall/NAT rules)
* If using authentication, ensure username and password are correct
* Try both UDP and TCP transport if one doesn't work
* Check RTP port ranges — ensure your firewall allows UDP traffic for RTP media
* Verify codec negotiation — Rapida supports G.711 μ-law (PCMU) and G.711 A-law (PCMA)
* If behind NAT, ensure your PBX has proper STUN/TURN or external media IP configuration
* Verify STT and TTS providers are configured in the phone deployment
* Verify the SIP credential is connected in **Integration > Tools**
* Ensure the phone deployment is configured and saved
* Check that your SIP trunk allows outbound calls from Rapida's IP
* Use a wired network connection for your PBX when possible
* Prefer G.711 μ-law (PCMU) codec for compatibility
* Minimize network hops between your PBX and Rapida
* Check for packet loss or jitter on the RTP path using network monitoring tools
***
## Related Resources
Build your voice AI assistant
Overview of phone deployment options
Dedicated Asterisk PBX integration with AudioSocket
View call history and transcripts
Find the **SIP Trunk** card and click **"Setup Credential"**.
A modal will appear. Fill in the following fields:
| Field | Description | Required |
| ---------------- | ------------------------------------------------------------ | -------- |
| **Key Name** | A friendly name for this credential (e.g., "Office PBX") | Yes |
| **SIP URI** | The SIP trunk endpoint (e.g., `sip:trunk.provider.com:5060`) | Yes |
| **SIP Username** | Authentication username for the SIP trunk | No |
| **SIP Password** | Authentication password for the SIP trunk | No |
Click **"Configure"** to save.
If your SIP provider uses IP-based authentication (allow-listing Rapida's IP), you can leave the username and password fields empty.
After saving, the SIP Trunk card should display **"Connected"**. Click on it to see credential details, last updated time, and management options.
***
## Step 2: Configure Phone Deployment
With credentials saved, configure your assistant's phone deployment to use SIP.
Navigate to **Assistants** and select the assistant you want to deploy via phone.
Click **"Deploy"** → **"Phone"** to open the phone deployment configuration page.
In the **Telephony** section:
1. Select **SIP Trunk** from the telephony provider dropdown
2. Choose the SIP credential you created in Step 1 from the **Credential** dropdown
3. Enter the **Caller ID** — the phone number to display for outbound calls (e.g., `+15551234567`)
Set up the conversation experience:
| Setting | Description | Default |
| ------------------------ | ---------------------------------------------- | ------------------ |
| **Greeting** | The first message the AI speaks when answering | *(optional)* |
| **Error Message** | Message spoken when an error occurs | *(optional)* |
| **Idle Timeout** | Seconds before prompting an idle caller | `30` |
| **Idle Message** | Message spoken when caller is idle | `"Are you there?"` |
| **Idle Timeout Retries** | How many times to retry before ending call | `2` |
| **Max Call Duration** | Maximum call length in seconds | `300` |
Select your **Speech-to-Text** (STT) and **Text-to-Speech** (TTS) providers. These determine how audio is transcribed and synthesized during the call.
Click **"Deploy"** to save. Your assistant is now ready to handle phone calls via SIP.
***
## Step 3: Configure Your PBX / SIP Provider
Route calls from your PBX or SIP carrier to Rapida's SIP server.
In your PBX admin panel (FreeSWITCH, Asterisk, Kamailio, or hosted provider), create a new SIP trunk pointing to Rapida's SIP endpoint.
**Rapida SIP Server:**
```
sip:sip-01.in.rapida.ai:5060
```
Configure your trunk with:
* **Outbound Proxy**: `sip-01.in.rapida.ai:5060`
* **Transport**: UDP or TCP
* **Codec**: G.711 μ-law (PCMU) preferred, G.711 A-law (PCMA) supported
Add a dial plan entry that routes specific numbers or patterns to the Rapida SIP trunk.
**FreeSWITCH example:**
```xml theme={null}
```
**Asterisk example (extensions.conf):**
```ini theme={null}
[rapida-trunk]
exten => _X.,1,Dial(SIP/did-${EXTEN}@rapida-trunk)
```
Place a test call to confirm the call reaches Rapida and the AI assistant answers.
***
## Inbound SIP URI Routing
Rapida routes inbound SIP calls from the user portion of the request URI. The `To` URI is used first; if it has no user, Rapida falls back to the `From` URI.
Accepted inbound destination formats:
| Format | Example | Resolution |
| --------------------------------------- | ----------------------------------------------- | ---------------------------------------------------------------------------------- |
| `sip:agent-{assistantID}@{host}:{port}` | `sip:agent-123456789@sip-01.in.rapida.ai:5060` | Routes directly by numeric assistant ID |
| `sip:did-{did}@{host}:{port}` | `sip:did-+15551234567@sip-01.in.rapida.ai:5060` | Looks up the active SIP phone deployment whose phone value exactly matches `{did}` |
| `sip:{did}@{host}:{port}` | `sip:+15551234567@sip-01.in.rapida.ai:5060` | Same DID lookup, without the `did-` prefix |
The same route user forms are accepted with `sips:` when the SIP listener is configured for TLS.
The DID value is matched exactly against the phone number stored on the assistant's active SIP phone deployment. `+15551234567` and `15551234567` are different route values.
Credential-style users such as `sip:{assistantID}:{apiKey}@host` are not accepted for inbound routing. Use `agent-{assistantID}`, `did-{did}`, or the raw DID form.
***
## Making Outbound Calls
Once your phone deployment is configured, you can initiate outbound calls through your SIP trunk using the Rapida API or SDKs.
```python theme={null}
from rapida import Rapida
client = Rapida(api_key="rpd-xxx-your-key")
call = client.calls.create(
assistant_id=123456789,
to_number="+15551234567",
metadata={"campaign": "follow-up"},
)
print(f"Call queued: conversation_id={call.conversation.id}")
```
```typescript theme={null}
import { Rapida } from 'rapida';
const client = new Rapida({ apiKey: 'rpd-xxx-your-key' });
const call = await client.calls.create({
assistantId: 123456789,
toNumber: '+15551234567',
metadata: { campaign: 'follow-up' },
});
console.log(`Call queued: ${call.conversation.id}`);
```
```bash theme={null}
curl -X POST https://api.rapida.ai/v1/talk/call \
-H "Authorization: Bearer rpd-xxx-your-key" \
-H "Content-Type: application/json" \
-d '{
"assistant": { "assistant_id": 123456789 },
"to_number": "+15551234567",
"metadata": { "campaign": "follow-up" }
}'
```
***
## Features
| Feature | Description |
| -------------------------- | ------------------------------------------------------------------------------ |
| **Bring Your Own Carrier** | Use any SIP-compatible provider or on-premise PBX |
| **Direct SIP Connection** | Native SIP INVITE/BYE handling with RTP media — no intermediary cloud provider |
| **Low Latency** | Direct RTP audio path minimizes round-trip delay |
| **Inbound Calls** | Accept calls routed from your PBX to the AI assistant |
| **Outbound Calls** | Initiate calls programmatically via SDK or API through your SIP trunk |
| **Call Recording** | Automatic conversation capture for review and compliance |
| **Codec Support** | G.711 μ-law (PCMU), G.711 A-law (PCMA) |
| **Flexible Auth** | Digest authentication or IP-based allow-listing |
***
## Supported PBX / Providers
SIP Trunk works with any standard SIP-compliant system, including:
| System | Type |
| ---------------------- | ------------------------------------------------ |
| **FreeSWITCH** | Open-source softswitch |
| **Asterisk** | Open-source PBX (also has dedicated integration) |
| **Kamailio** | SIP proxy/router |
| **Twilio Elastic SIP** | Cloud SIP trunking |
| **Vonage SIP Connect** | Cloud SIP trunking |
| **Bandwidth** | Cloud SIP trunking |
| **Telnyx** | Cloud SIP trunking |
| **SignalWire** | Cloud SIP trunking |
If you're using Twilio, Vonage, Exotel, or Asterisk, consider using the dedicated integrations for those providers — they offer additional features like webhook-based call control and provider-specific optimizations.
***
## Troubleshooting
* Verify the SIP URI in your credential is correct and reachable
* Check that your PBX can route to `sip-01.in.rapida.ai:5060` (firewall/NAT rules)
* If using authentication, ensure username and password are correct
* Try both UDP and TCP transport if one doesn't work
* Check RTP port ranges — ensure your firewall allows UDP traffic for RTP media
* Verify codec negotiation — Rapida supports G.711 μ-law (PCMU) and G.711 A-law (PCMA)
* If behind NAT, ensure your PBX has proper STUN/TURN or external media IP configuration
* Verify STT and TTS providers are configured in the phone deployment
* Verify the SIP credential is connected in **Integration > Tools**
* Ensure the phone deployment is configured and saved
* Check that your SIP trunk allows outbound calls from Rapida's IP
* Use a wired network connection for your PBX when possible
* Prefer G.711 μ-law (PCMU) codec for compatibility
* Minimize network hops between your PBX and Rapida
* Check for packet loss or jitter on the RTP path using network monitoring tools
***
## Related Resources
Build your voice AI assistant
Overview of phone deployment options
Dedicated Asterisk PBX integration with AudioSocket
View call history and transcripts